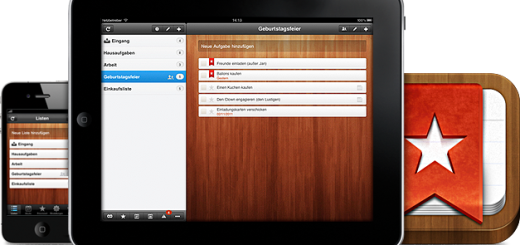
Learn how to Use Swipes for Android
Swipes for Android? I know that you must be thinking on the fact that this popular task organizer is for iOS, but haven’t you heard that it has been made available for Android too a few months ago?
I want to remind you from the start that Swipes has been voted as being one of the world’s top 5 productivity apps with a Best New Startup prize by Evernote and a nomination for a Webby Award, so you should be glad of having such an opportunity.
If you are one of those having a problem at the organization chapter, then I am sure of the fact that you will find Swipes for Android a real bless. Swipes has followed Google’s Material Design, so you get a beautiful and minimalistic look that you cannot find on any other app from its category.
When it comes to using it day by day, it’s easy and fun. Don’t you believe me? Just take a closer look to what it has to offer and you’ll understand why I am saying that this one of the best tasks organizer that I have ever used:
Learn how to Use Swipes for Android:
- First of all, you have to take Swipes from here;
- Upon opening the app for the first time, it will ask you either to take a tour or log in;
- Taking a tour first the best in order to learn as much as possible about it;
- To create a new task, tap on the floating yellow plus button at the bottom right corner;
- While writing a task, you also have the chance to add tags in order to keep your tasks organized;
- Two tags, home and shopping, are available from the beginning; when you are ready to create more tags tap the plus button on the tags section;
- Swipes has no less than three main panels:
the center panel is where all your tasks are placed for easy access;
the left panel stores all the tasks that you want to do later on;
the right panel stores all your accomplished tasks; - From the center panel, swipe right on the task to mark it as done. Swiping to the left will schedule the task for later;
- After swiping you’ll get the option to set a time when you want to do that task. You can choose to do the task in the evening, after a day or two, the next week and so on;
- Once a reminder occurs, the item is moved back to the center panel where you can set it as done, delete it or reschedule it if it is the case;
- Don’t forget that the app has Evernote integration. You must log in with your Swipes account and after that, whenever you want to sync a note, just add swipes in tags and be sure that your note will be synced with Swipes.
I hope that you enjoyed this simple guide and that you have successfully completed it. If not, just ask for my help!