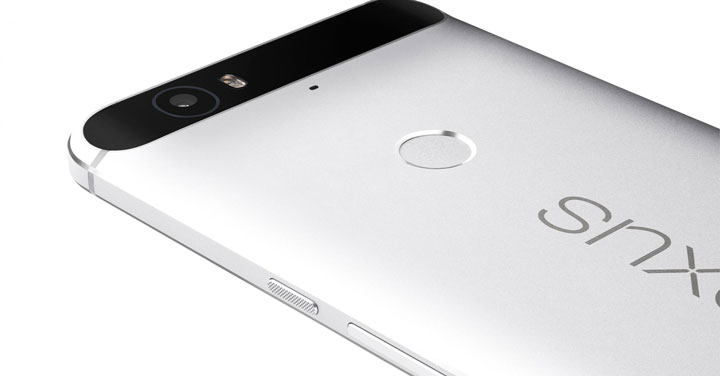
How to Install Official CM 13 ROM on Nexus 6P
3 min. read
Updated on

CyanogenMod is known to build some of the best third party ROMs for the most popular Android devices and not only and the CM 13 Android 6.0 Marshmallow firmware is no exception. This version is light weight, fast and Android 6.0 Marshmallow based, so I bet that this is what you also want for your Nexus 6P device.
Anyway, let me tell you from the start CM13 can be flashed only if you take care of some important preparatory steps. To be more specific, the first things to take in consideration are the fact that you have to root your Google Nexus 6P before starting the CM 13 Android 6.0 M update procedure and that you also have to install a custom recovery image, such as CWM or TWRP recovery.
Do not forget to uninstall or deactivate all the antivirus applications in your computer and to take the Nexus 6P USB drivers which must be installed on the computer. If you skip this step, you will not be able to connect these two at a later time, so the entire CM 13 Android M flashing procedure will simply be compromised.
Then, make a general backup in order to save your personal data as this operation will wipe all the data from your device except for the internal storage. Have you enabled the USB debugging mode in your phone? If not, enable Developer options by entering here: Settings -> About Phone and then, by tapping several times on the build number. Up next, you have to go to: Settings -> Developer options -> USB debugging and at the end, tap on the box next to it to enable USB debugging.
You must also fully charge your Google Nexus 6P or at least to 60% in order to make sure that it will last through the CM 13 update operation. And even I might be the one spoiling the fun, I have to remind you that there is always the risk of damaging your device, so be prepared to face the consequences. I cannot be held liable in such a case, so think twice before getting started!
With these being said, that’s the actual guide:
How to Install Official CM 13 ROM on Nexus 6P:
- For the start, take the CM 13 ROM by using this link;
- Also take Google apps and the boot image with the help of this link;
- Connect your device with the computer via the USB cable;
- Now, you have to transfer both files on your device;
- Remove the USB cable;
- Turn off the handset right away;
- It’s time to reboot recovery;
- Do not forget to perform a nandroid backup. In order to do that, tap on the backup option in TWRP and select all the partitions including System, Data, Boot, Recovery, EFS and swipe right where appropriate, to backup;
- After performing the ROM backup, go back to the TWRP main menu and tap the wipe button;
- Then, select Advanced Wipe, as well as Dalvik Cache, System, Data, and Cache;
- Next, swipe the confirmation button to wipe;
- Pick the CM 13 firmware file;
- From the main menu of recovery tap on Install and have patience;
- Once the installation process is finished successfully, repeat the above steps with the GApps file;
- From recovery select “reboot” and enjoy.
Have you completed the procedure? Share your thoughts with me and the other readers by using the comments field from down below.


User forum
0 messages