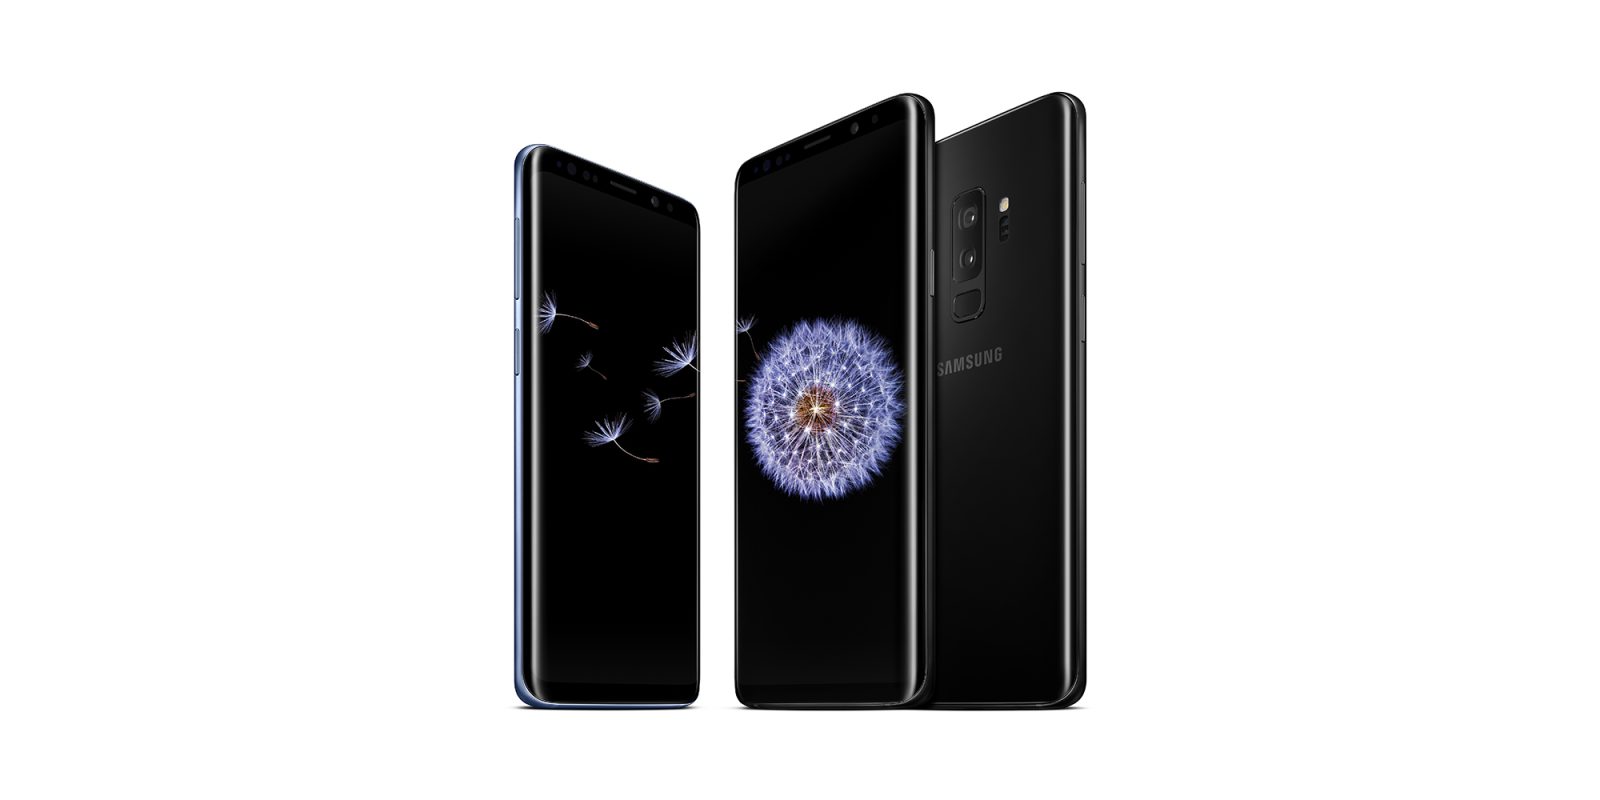
Take a Screenshot on your Samsung Galaxy S9
4 min. read
Updated on

Samsung made a major change when it launched the Galaxy S8 and S8+ models, removing the physical home button.
Those who picked up last year’s flagship were confused for quite a long time about how they could take a screenshot and things are no different for the Galaxy S9 model which doesn’t have a hard home button either.
So, screenshots on this Samsung phone are different to older models, like the S7 or S6, but pretty much similar to the S8 one. While you can still use the regular method of using a combination of the power and volume buttons, the Korean company also offers other means of capturing the content on your screen.
How to Take a Screenshot on your Samsung Galaxy S9 using buttons:
Samsung supports the conventional Android method of taking a screenshot using some simple button presses:
- Locate the content that you wish to capture;
- Up next, you have to press and hold the volume down button and power button for only a few seconds;
- You’ll see the screen shrink in, and editing options will appear on the screen;
- If you want to edit the screenshot right after it’s captured, then tap the bottom options to draw, crop or share it immediately;
- If you miss those buttons, the screenshot will also be saved in the notification shade, where you can expand and tap the options to edit, share or delete it. If you dismiss the notifications, the screenshot can also still be found in Gallery or any other app you may use to manage photos, like Google Photos.
How to Take a Screenshot on your Samsung Galaxy S9 using Scrolling capture:
Scroll Capture lets you take screenshots of content below your original image. In such a case, the phone will automatically scroll down, take another screenshot, and then stitch it together with the previous image. From there, you can continue taking screenshots or exit the option. Here’s exactly how this works:
- Make sure the content you want to capture is on the screen;
- Use the button combo to initiate screenshot;
- Then, tap scroll capture at the bottom of the screenshot edit menu;
- Continue to tap scroll capture until you’ve covered everything in the app that you want to capture;
- The extra-tall scrolling screenshot will save like any other.
How to Take a Screenshot on your Samsung Galaxy S9 using Bixby:
If you wish, you can also take a screenshot using Bixby. To do this:
- First of all, locate the content you wish to capture;
- You can now wake up Bixby by saying “Hi, Bixby” to activate the assistant by pressing the dedicated Bixby key;
- Then, with the interface activated, all you must do is say “take a screenshot“;
- In the end, the screenshot will automatically be saved to the Gallery.
How to Take a Screenshot on your Samsung Galaxy S9 using Palm swipe:
In a previous generation Galaxy model, Samsung added slightly-weird gestures that can be used to achieve tasks. One of these was the ability to take a screenshot by swiping your palm across the phone’s screen. Here’s what you have to do:
- First of all, go to Settings > Advanced features;
- While here, you must toggle on Palm swipe to capture at the bottom of the list;
- Then, open the content on the screen you want to capture;
- You must place the side of the palm of your hand on the edge of the screen, and in one motion swipe it across the face of the phone.
The screenshot will be captured in the same way as above, but keep in mind that this isn’t a perfect system so it might take multiple attempts to get it work.
Good luck!


User forum
0 messages