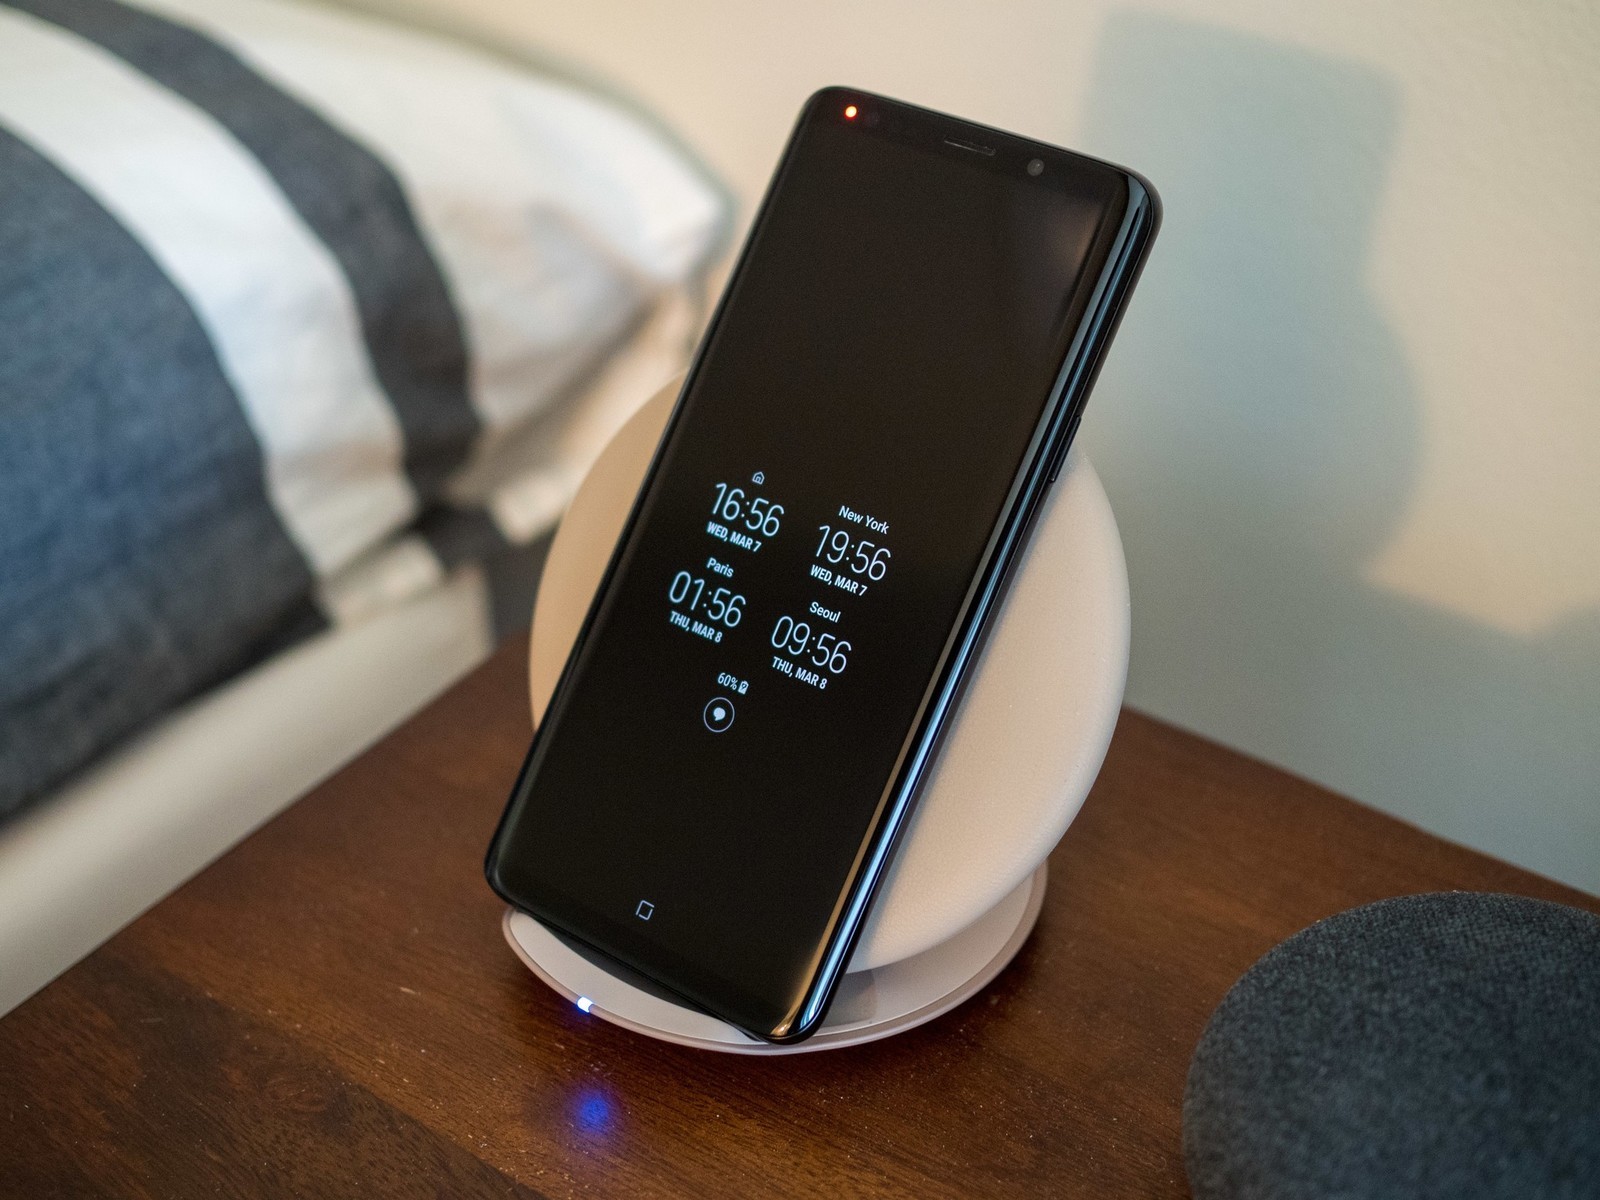
Solve Grey Battery Problem on your Galaxy S9
3 min. read
Updated on

If you haven’t encountered any problems so far that is great news, you are a lucky user. However, for those of us who haven’t had a smooth ride using the Galaxy S9, this is probably due to a number of reasons and you shouldn’t see it as the end of the world. One of the common concerns that we have been receiving from our readers who own the device is the battery related issue that we cannot deny.
So, are you here looking for a way to solve the Grey Battery problem on your Galaxy S9? My first question on previous Galaxy devices was: Have you tried the battery pull trick on the phone? This was easily done by pressing and holding the power button and the volume down button together for at least 7 seconds, then you had to release both buttons and check if the phone reboots, yet that’s a part of the past now. On this device, removing the battery can be quite difficult so you might need the help of a Samsung technician to do that.
However, I hope that you won’t have to get there as there are quite a few other tips that you might try on. After all, a faulty charging port might be behind this, just as a blocked charging port with debris and dust can lead to such a problem, so here’s what you should better do:
Solve Grey Battery Problem on your Galaxy S9:
- Try to clean the charging port by using a can of compressed air or even a cotton bud dipped in alcohol. You can also blow into it using a straw. After all, you want to take out the dirt or debris that could be hidden there and lead to such an issue;
- You can also try using a different charging cord when charging the handset. There are times when the charging cord gets damaged especially when it is constantly coiled or bent, so you will know for sure if this is your case too;
- Using the Clean System Dump solution might also be what you need at this point, so here’s what you have to do:
- Before you begin, ensure that your Galaxy S9 is turned on;
- Go to your phone dialer;
- Dial the following code *#9900#;
- A new screen will appear after dialing, so it’s time to scroll down until you identify the Low Battery Dump option;
Tap “Low Battery Dump”; - Tap to turn it on;
- Next, click on Wipe Cache Partition.
If you have any questions about this procedure, I will be more than happy to assist you with any concern that you may have with your device.


User forum
0 messages