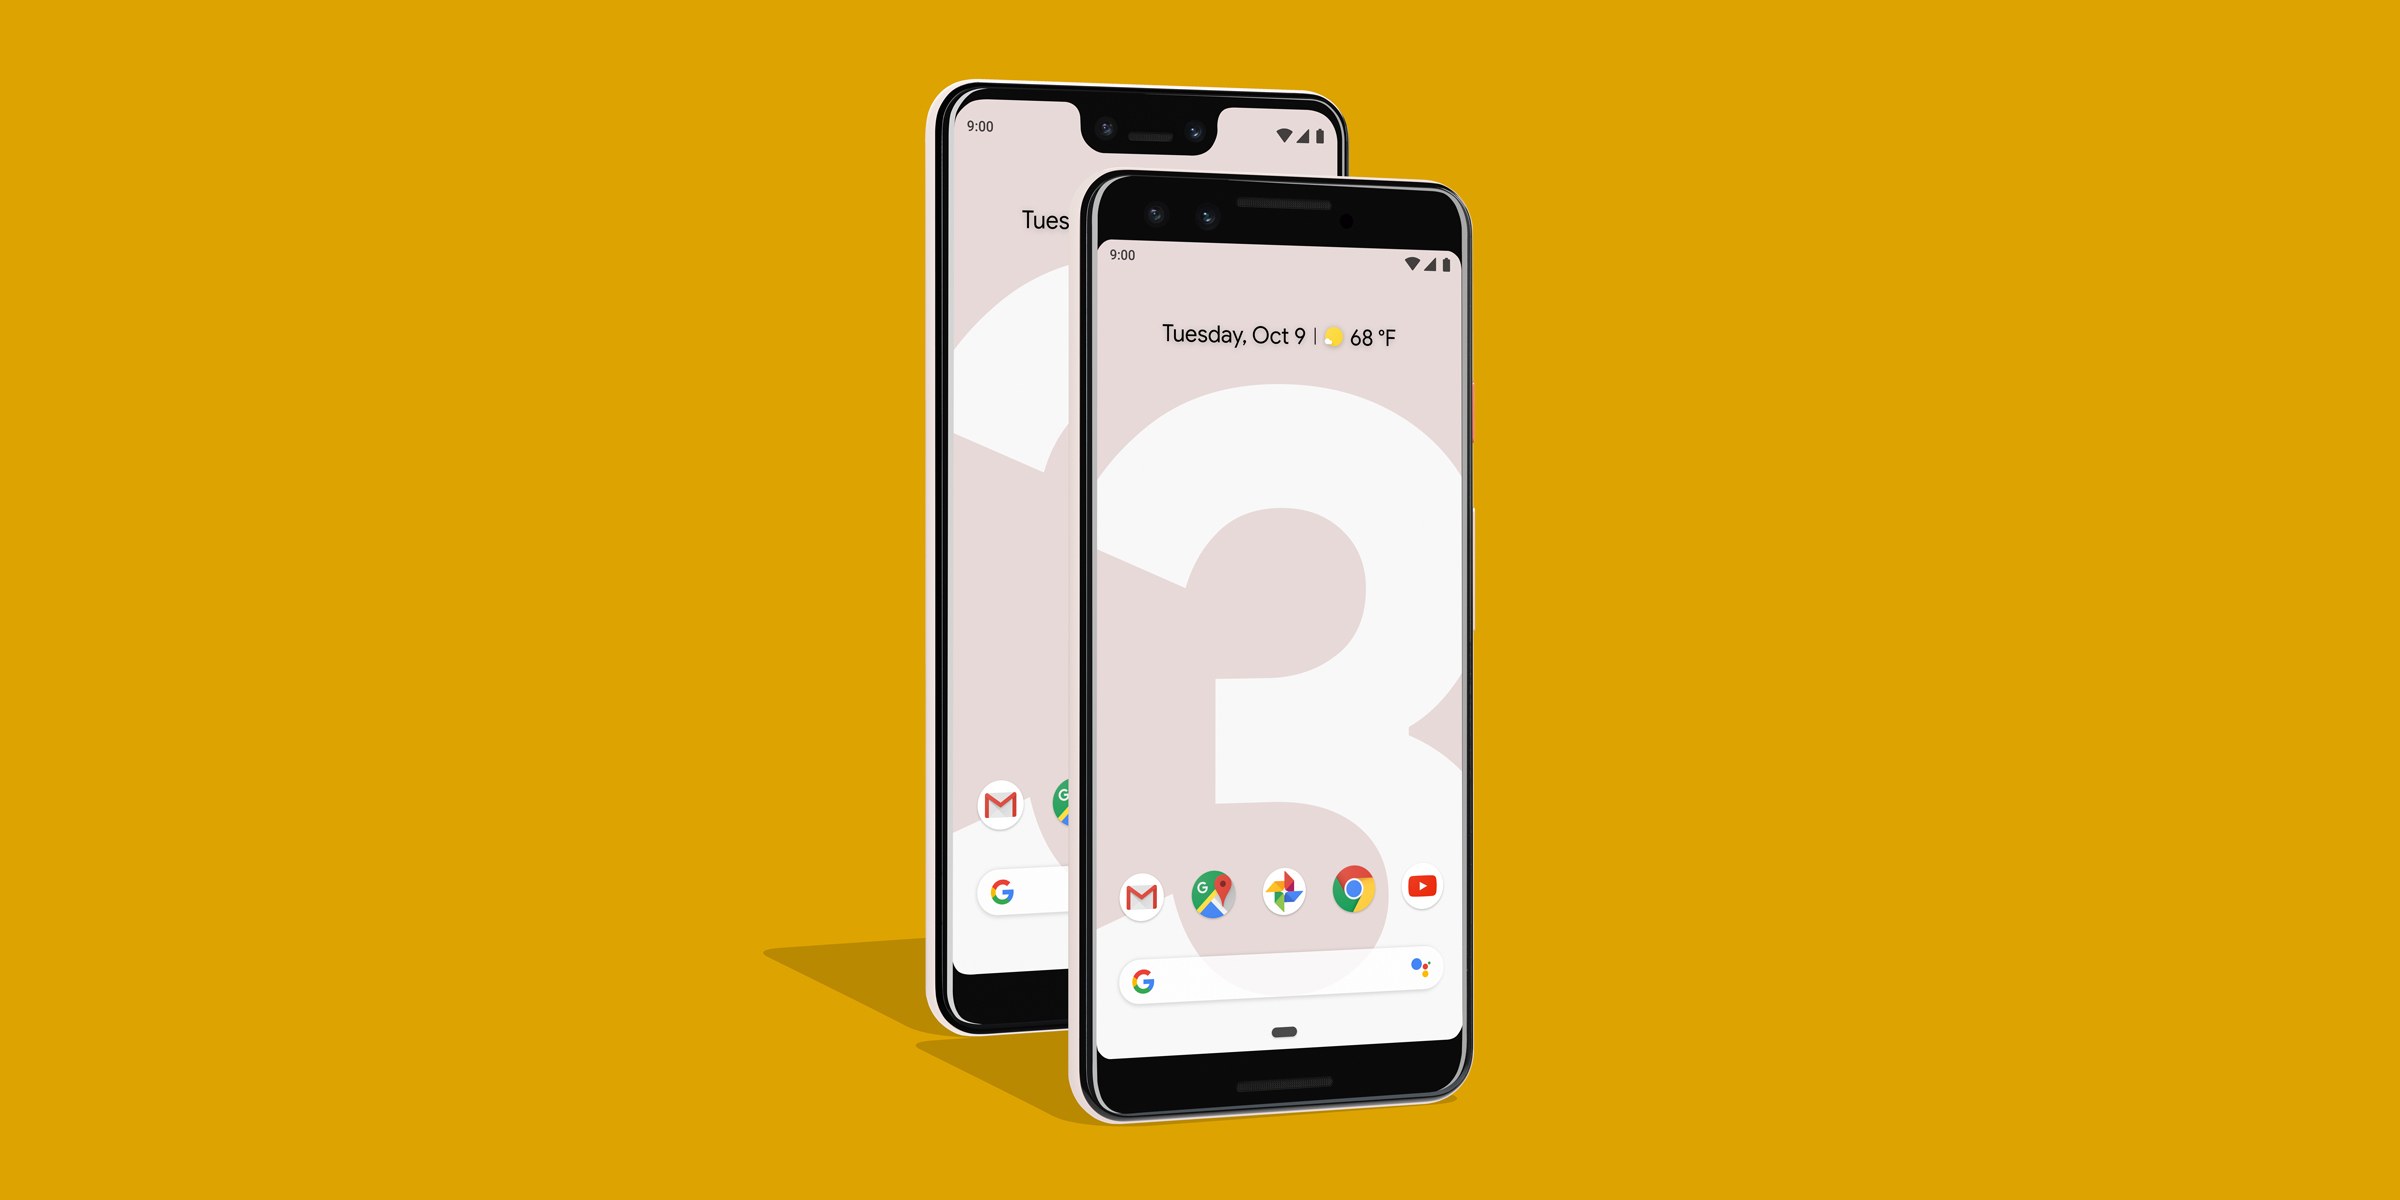
Unlock the Bootloader on your Pixel 3 XL
3 min. read
Updated on

Google’s Pixel series rock a clean version of stock Android instead of a heavy OEM skin like TouchWiz and the latest devices come with the most fluid UI of any phone. Your Pixel 3 XL handset is the ideal example of that, but there are still times when you want to modify with root-level tweaks. The first step to making changes to your smartphone these days is unlocking the bootloader.
I am going to demonstrate how easy it is in the guide below, but don’t jump straight to the procedure. Don’t do it at all if you do not completely understand the consequences of unlocking the bootloader of a smartphone.
This could later cause a lot of problems, when trying to install TWRP or CWM Recovery on the phone or install various custom ROMs on the phone, so continue only if you know what you are doing.
How to get ready:
- At first, charge the phone fully;
- Take a backup of your data;
- Next, enable USB Debugging on your Google Pixel 3 XL by going to Setting>About>Software>Build Number and taping on the build number repeatedly so that the Developer mode will turn on;
- Go back one page and near the bottom of the list and you should see “Developer options.” Without scrolling down, you should see an “OEM unlocking” option too, so enable it;
- Scroll down a bit until you see “USB debugging.” Enable it;
- You’ll also need two things aside from your phone: a Windows, Mac, or Linux computer and a USB data cable;
- You have to connect your Pixel phone to your computer. Plug in the USB Type-C cable, drag down the Notification bar to select the USB Preferences, and set the USB mode for File Transfer.
How to Unlock the Bootloader on your Pixel 3 XL:
- You must put your device into Bootloader mode, so first long-press the Power button to bring up the power menu;
- Select Reboot;
- Up next, immediately press and hold the volume down button on the side of your phone. Keep holding the button down until you’re taken to Bootloader mode;
- Once you’re on the bootloader menu, you’ll now have to switch to using fastboot command to communicate with your device. To unlock the bootloader, enter the following command: fastboot flashing unlock;
- You should now see text on screen warning you about the potential risks of unlocking the bootloader. On the screen next to the Power and Volume buttons, you should see some text. Press the Volume up key until it says “unlock the bootloader”;
- Once it says this, press the Power button;
- The phone will unlock the bootloader and reboot back to the bootloader menu;
- Now, bootloader will show a red warning icon and “unlocked” text. Do you see it? You can move on to the next step;
- You are ready to reboot your phone back to the Android 9 Pie OS, so enter the following fastboot command: fastboot reboot.
Congratulations, your Google Pixel 3 XL now has an unlocked bootloader! In case of encountering any issues regarding bootloader unlocking on Google Pixel 3, then do let me know in the comments area below. Furthermore, I will be happy to assist you.


User forum
0 messages