How to Set Priority Notifications in Pixel 3 Do Not Disturb
3 min. read
Updated on

iOS may have taken the lead over Android with the introduction of its “Do Not Disturb” feature nearly four years ago, but that’s in the past already. You cannot even imagine Android just siting to take the punch. We also have a Do Not Disturb feature now and it is even better. We’ve got plenty of Android-only nifty options that the iPhone and iPad have yet to match.
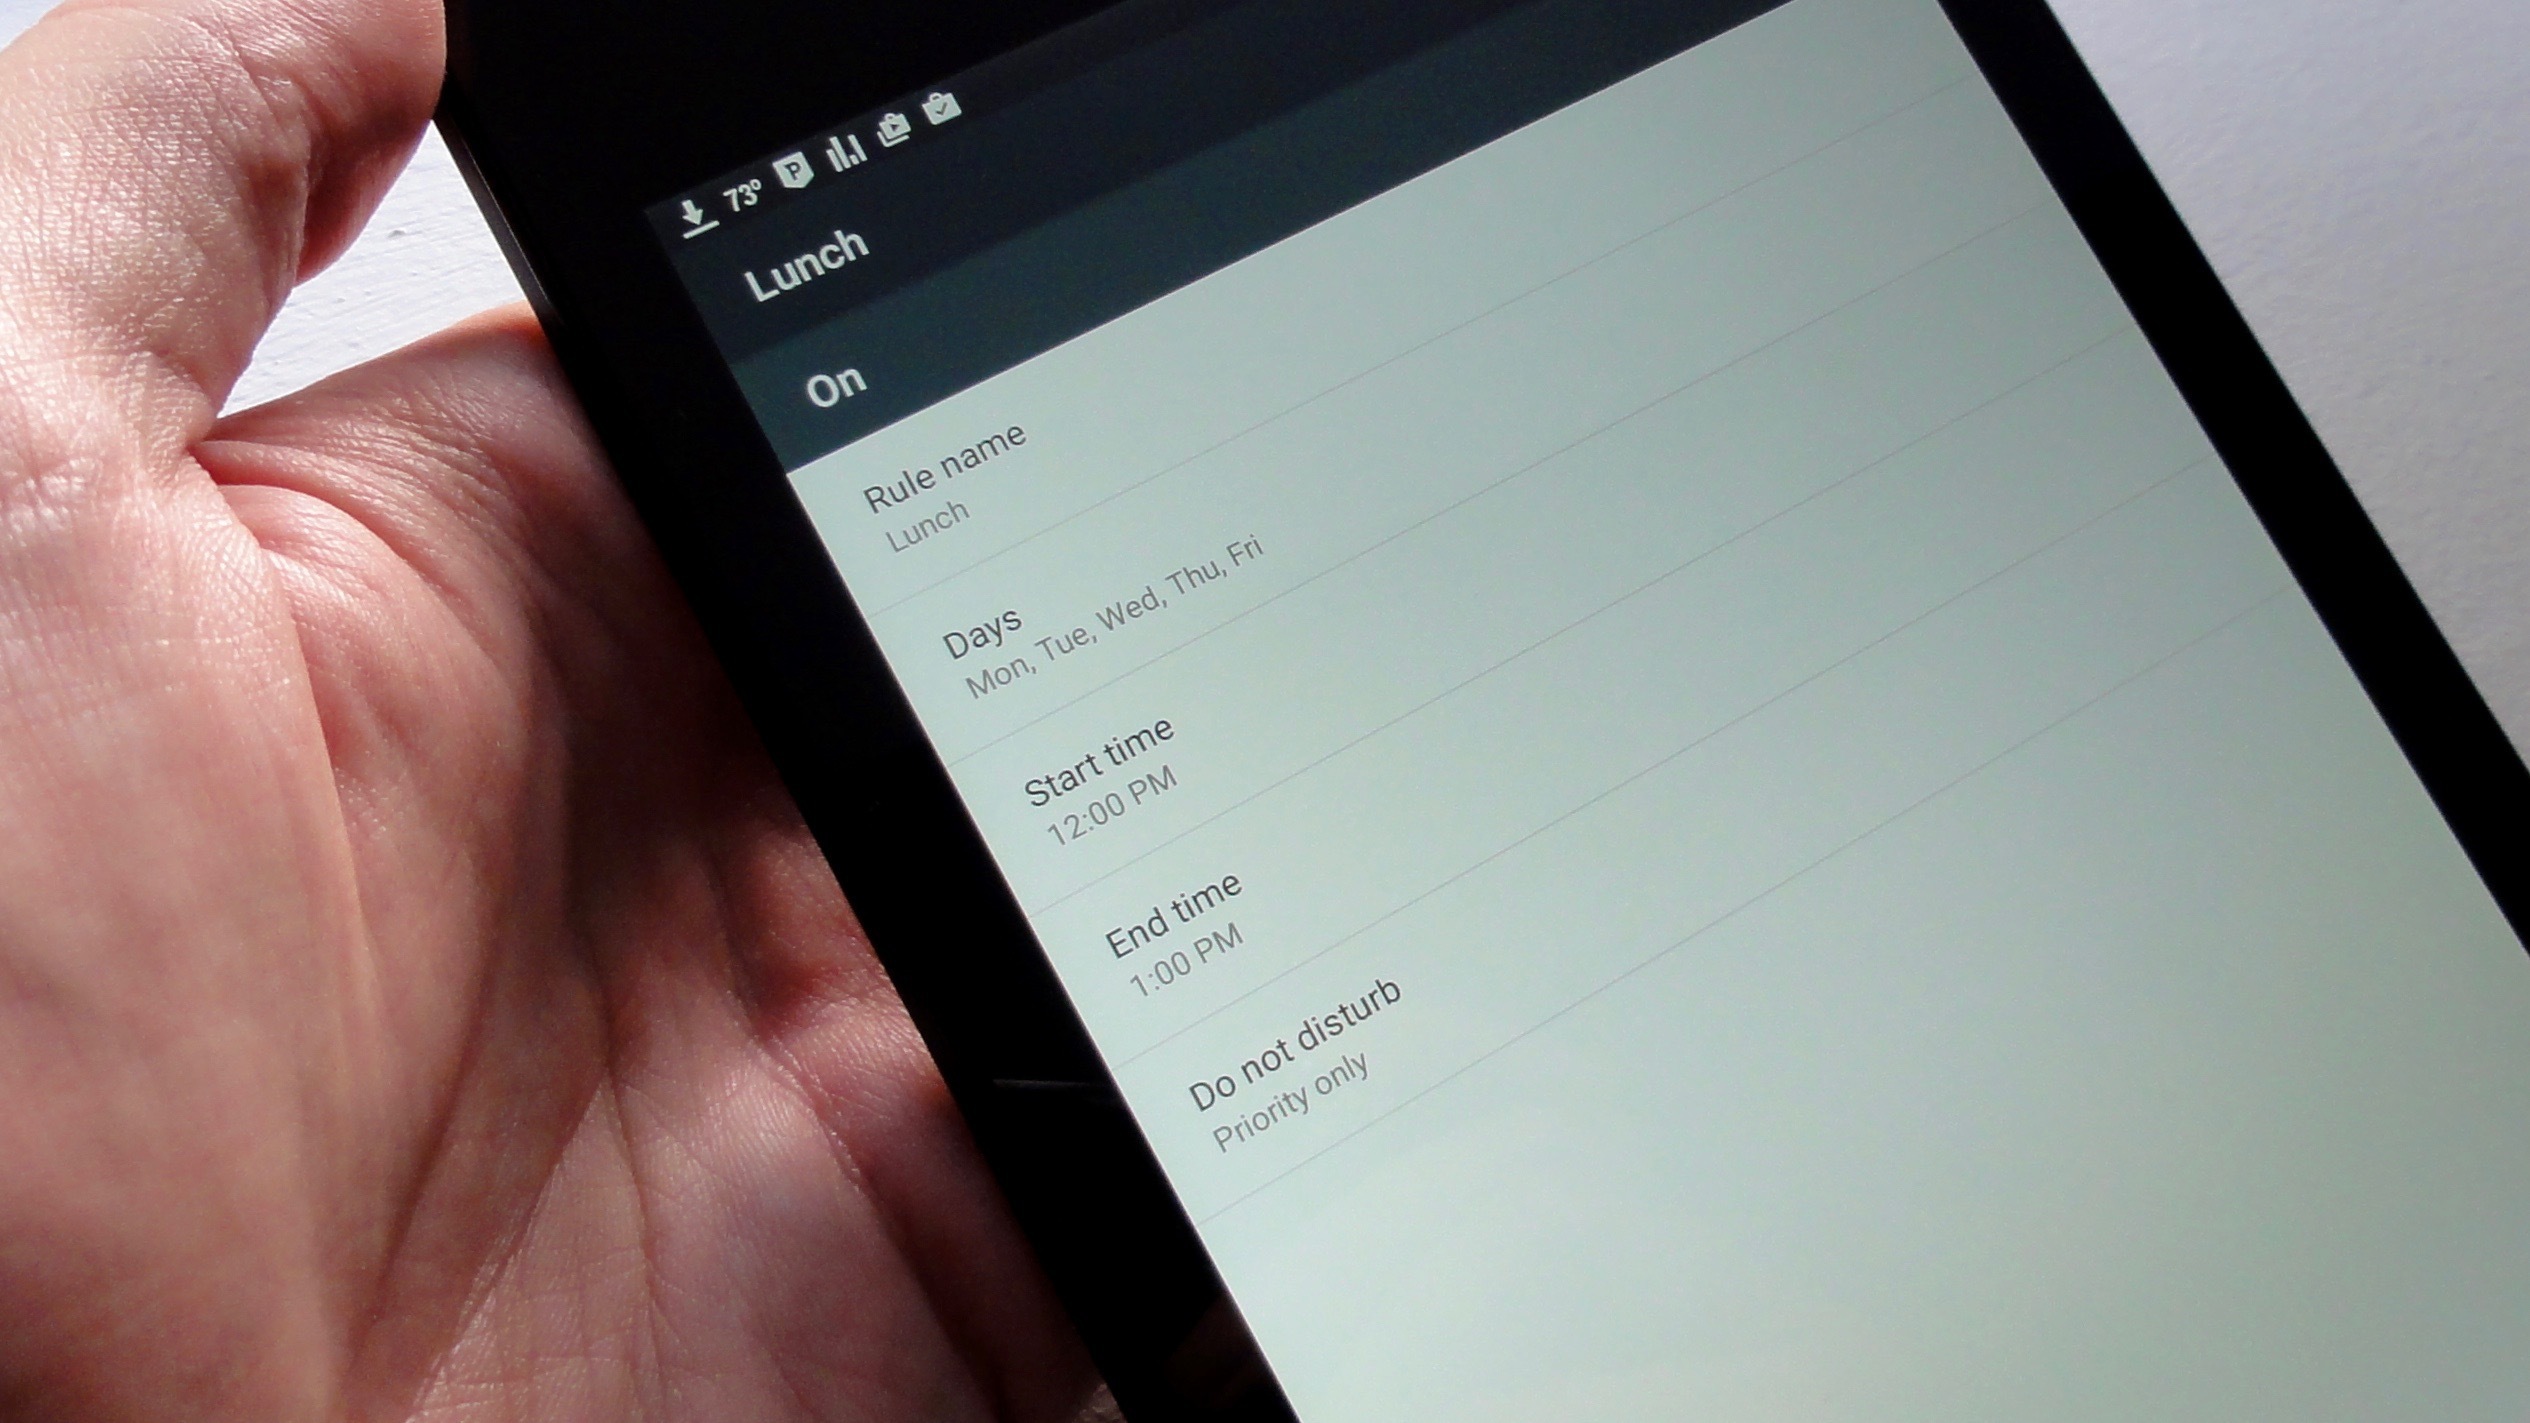
Do Not Disturb is like an improved silent mode. Have you discovered it yet on your Pixel 3? I bet that you did and many of you really like it. as you know, it can silence your phone quickly or automatically, but also allow certain people and apps to break through. You can eliminate distractions without missing important notifications. You basically get some ground rules with your phone and ensure that it doesn’t bother you in meetings, at the cinema, or when you’re sleeping.
If you also want to use the Priority only option, then you are in the right place. In addition all these, Do Not Disturb also boasts a great option for screening calls and notifications: Priority access, which lets you pick and choose which alerts and callers can get through during your quiet hours.
How to set the changes:
- Go to Settings > Sound & notification > Do not disturb;
- Now, tap Priority only allows;
- For starters, you can decide whether reminders and event alerts can sound off in Priority mode (note that the Alarms setting is grayed out and enabled);
- Tap Calls to choose which callers can bug you during Priority time. The options you have include anyone and everyone, just your contacts, only “starred” contacts, or nobody;
- You may also tap Messages to apply a similar setting for those trying to text you;
- Another option is the Repeat Callers setting, which will let through a determined caller who tries to call you twice within 15 minutes;
- Also decide which apps get Priority status for their alerts. Go back to the Sound & Notification screen, tap App Notifications, make sure the All Apps filter is selected, then tap an app and switch on the Treat as Priority setting;
- Feel free to check which of your apps are getting the Priority treatment by returning to the App Notifications screen and selecting the Priority filter.
To comment on this article, just use the below area. We’re eager to hear your opinion.


User forum
0 messages