Import Photos between Computer and the Vivo Nex A Device
2 min. read
Updated on

Our photos often contain some of our most precious memories, so it’s imperative that we keep them safe. Make sure that your files are saved to your device and maybe on your computer too, just to make sure that nothing would ever happen to them. So, one of the biggest questions we are asked is how to transfer photos between a computer and your Android device. This applies to your Vivo Nex A handset and be sure that I have the best solution.
This time, I don’t want you to take a look at a couple of different ways to transfer your precious photos. You can clearly use your Google Account or that USB cable to move photos between your computer and the Vivo Nex A phone, but I am sure that this isn’t the smartest solution. You could end up wasting too much time on these little things when a comprehensive tool could make it all seem like a breeze.
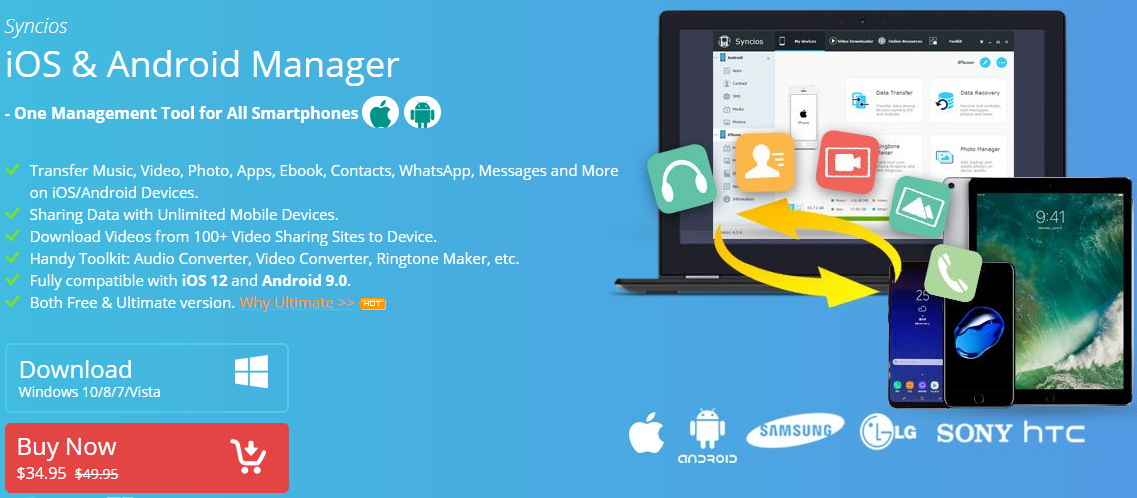
The Android Manager that I have in mind is Syncios Manager. Via this tool, you can not only manage, backup, restore, or delete phone photos or albums, but also manage other data. This includes contacts, messages, apps, music, videos and more, while that handy Audio/Video converter might be the surprise at the end of your activity.
How to Import Photos between Computer and Vivo Nex A Device:
- Take Syncios Manager right away;
- Install it;
- Make sure to turn on the USB debugging mode on your Vivo phone before connecting to computer. Pay attention to the phone screen if any pop-up message appears;
- After phone connecting, find the way to Photos on the left sidebar;
- Then, just select photos or a photo album then click on Export;
- Choose a proper saving location and export them to the computer;
- You should have noticed that there is a tiny Import/Add button. Click on it when you need to import photos of photo folders from computer;
- You may also choose to open a photo folder. Like that, you are allowed to drag and drop photos to Vivo Nex directly.
Do you see how simple is to export and import Vivo Nex photos on PC?


User forum
0 messages