Add .ttf Files from your Computer to your Rooted Android
2 min. read
Updated on

Default fonts usually get the job done. After all, that’s why they’re the default. Roboto on Android is more than decent, but there will always be users who’d simply prefer to choose their own fonts for Android. And there will always be those people who tinker with their Android device’s fonts just for the sheer pleasure of being able to.
Well, you know that the greatest thing about Android is that it is an extremely customizable mobile operating system. It even allows you to change the fonts on its user interface. And with the idea of installing new fonts on the Android platform you get to this point where you want to add a custom .ttf font.
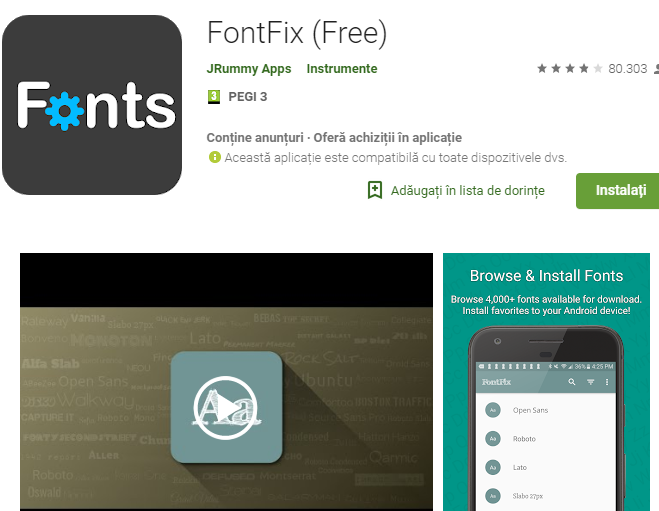
That app that I have in mind to get the job done is none other than FontFix. Once installed on your handset, you may immediately copy your .ttf files (from your computer) into a directory on your device and use that font as the default.
Font Installer is easily installed, so let me guide you:
- Open the Google Play Store on your rooted device;
- Search for FontFix (Free);
- Locate and tap the entry by diyun;
- You may also use this direct link to get it from the very start: FontFix;
- Tap Install;
- Read the permissions listing;
- If the permissions listing is acceptable, tap you just have to Accept;
- Allow the installation to complete.
Now, you are ready for the actual procedure:
Add .ttf Files from your Computer to your Rooted Android:
- First of all, you need to copy the .ttf files into a folder on your device;
- Open Font Installer;
- Up next, it’s time to swipe to the Local tab;
- Navigate to the folder containing the .ttf files;
- Select the .ttf file to be used;
- Then, just tap Install (or Preview if you want to get a look at the font first);
- If prompted, you must grant root permission for the app;
- Finally, reboot the device by tapping Yes.
Follow us for more similar guides. That’s why we are here for!


User forum
0 messages