How to Set Default Applications in Android
2 min. read
Updated on

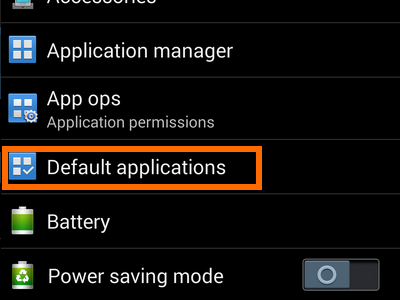
One of the best parts about Android is the ability to swap out default applications for ones that are more tailored to your needs. What if you don’t like your home screen launcher? What about your music player? Here you can find a quick tutorial on how to set default applications in Android and any of you can apply it on your device.
If you have at least two different applications that essentially do the same thing (such as music players, web browsers and so on), you’ll likely be presented with a small pop-up menu when trying to play a song or open a web page, asking you which of your applications you’d like to complete the action with.
Allowing the user to choose different applications to open certain content shows us one again how flexible Android really is, but it also bugs you if you don’t want to make the same decisions all the time.
I’m going to use a browser as an example, but the steps are the same for any type of application.
Learn to Set Default Applications in Android:
- To begin, you’ll have to download a third party app from the Google Play Store. An ideal example is he popular Link Bubble browser as a replacement for Chrome;
- After download, you won’t be prompted to set it as a default app automatically;
- Once you run into a situation in which you need to decide which app to use, Android will present a popup window and you have two options:
- You can press the Just once button under the Link Bubble option. This will allow the link to open in the preferred app just one time, which lets you choose another app the next time you click on a link;
- You can also choose to set Link Bubble as the default app, so click on “Always” instead of the “Just once” button.
And I have to ask you one more thing: How many apps do you have on your Android smartphone? Don’t try to cheat or look for a way out of this. The truth is that you have more apps than you actually need to use, so what do you say about some spring cleaning?


User forum
0 messages