How to Use Samsung Smart Switch on Galaxy S6
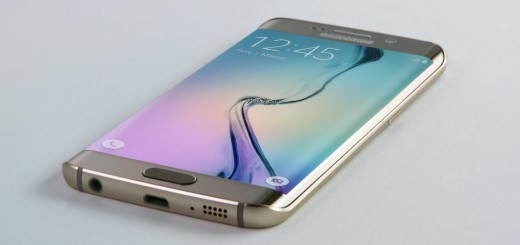
If you have a new Samsung Galaxy S6 and need to transfer your content from your previous device, we know that things might complicate, especially if you have a large media collection. Don’t worry, we are not here to tell you that it’s time to forget all about those photos with your ex and those songs from 2014, but we are here to guide you in transferring content like contacts, photos, songs, calendar, alarms, Wi-Fi setting and other settings from your handset to the new Galaxy S6 with the help of Samsung Smart Switch.
Before starting the procedure, you have to be sure that your previous handset is in this list of supported devices or you should better stop! The guide won’t work and besides wasting your time, you could even damage one of your handsets or both of them. So, this is the list:
- Samsung Galaxy handsets which are running at least on Android 4.0 OS version (Ice Cream Sandwich);
- All iCloud-enabled iOS devices;
- Selected Android devices from LG, Sony, as well as HTC.
So, are you ready to start? Here are the steps that you must follow:
How to Use Samsung Smart Switch on Galaxy S6:
- Take the Samsung Smart Switch Mobile app which can be downloaded from Samsung Play Store with the help of this link;
- Then, feel free to install the Samsung Smart Switch Mobile on your Galaxy S6;
- In your old device, you can use the exactly identical procedure to install Samsung Smart Switch Mobile app;
- Then, start the Smart Switch app in your new Galaxy S6;
- When you start the app first time, you need agree the license, so don’t hesitate to check “I have read and agree to all the terms and conditions above“;
- Choose Next;
- Select the device type of the previous device from which you want to transfer data to Samsung’s Galaxy S6 handset;
- Select Receiving device;
- Start the Smart Switch app in the old device as well;
- After tapping Connect in the old device, you can find the following info: “The device is now connected to ……..”;
- Select the content you want to transfer on the sending device”;
- After making the selection, simply tap Send;
- At the end, don’t forget to verify the transferred content in Galaxy S6. Make sure that all your data is transferred properly before throwing away the old handset or completely removing the items from there.
And this is only the beginning! You are the owner of an amazing handset, so don’t hesitate to make the best out of it with the help of our various guides such as How to Access Developer Options on Samsung Galaxy S6, How to Use Viper4Android, How to unbrick Samsung Galaxy S6, Boost Headphone and Speaker Volume, Enable WiFi Tethering on T-Mobile Samsung Galaxy S6, How to Remove Galaxy S6 bloatware without Root, or on the contrary, How to Root SM-G920I Samsung Galaxy S6 Device using CF-Auto-Root and Odin, root SM-9200 Galaxy S6 (Hong Kong variant), or the T-Mobile Samsung Galaxy S6 version by using CF-Auto-Root.

