How to Line up the Ideal LG G5 Shot with Guidelines
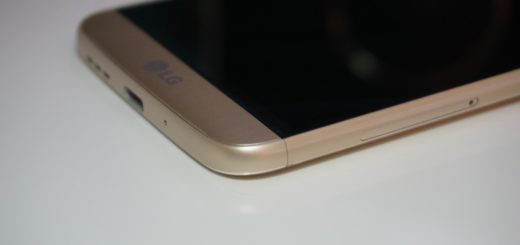
With a Snapdragon 820 processor and no less than 4 gigs of RAM, you know that your LG G5 zips around without a problem, just as you are aware of how good it feels in the hand and what an amazing camera it has! As it has been widely covered everywhere, the device packs two cameras in the back, the first is the same 16-megapixel, f/1.8 lens shooter that was on the G4, plus a second 8-megapixel wide-angle lens that offers 135-degree view of vision.
I was both intrigued and confused by the idea of a dual-setup, but now my reservations are nothing more than a part of the past. The second wide-angle camera has proven very useful for snapping landscape shots in tight spots. The resulted photos aren’t quite as sharp as the main camera and there is also a slight distortion on the edges, but not too bad and the pictures it produces are genuinely different in a good way.
Taking the perfect photo is not always easy though. If you aren’t too experienced at this chapter, then something that you can find as being we helpful for taking decent photos at first and then, better and better shots is guidelines. The guidelines show up as a very light grid over the top of the viewfinder area. These lines give you the possibility to easily center things in the shot, or frame the shot perfectly off-center.
How to Line up the Ideal LG G5 Shot with Guidelines:
- First of all, go to Auto mode;
- There, you must only tap the gear icon;
- Then, also tap the grid icon from the drop-down menu.
Were you satisfied with the usefulness of this information? To view more how-to tips on the LG G5 smartphone, don’t hesitate to visit our LG G5 pages and browse for other helpful guides for you to refer to. Some of my suggestions for you are these ones:
- How to Change LG G5 Photo and Video Resolution;
- Enter here to learn how to Save LG G5 Images in RAW File Format;
- How to Use LG G5 Video Stabilisation;
- Do not hesitate to Use LG G5 Multi-view Camera Mode;
- You can also learn how to Use LG G5 Timeline View and Memories View.