Uninstall KNOX from your Samsung Galaxy Handset
2 min. read
Published on

Samsung launched Knox in September 2013 and the main purpose of this security system was to bring full protection for devices, being specifically designed to enhance security of the current open source Android platform and also remaining fully compatible with Android and the Google ecosystem.
With the increasing use of smartphones in businesses, Samsung KNOX addresses the mobile security needs of enterprise IT without invading the privacy of its employees. All these sound great and they really are up to one point: the issue is that the Knox security system prevents access to multiple applications when you root your device and this usually lids to problems with your warranty because modifications to your phone will trip the flash counter (and prevent it from being reset). After all, you are aware of the fact that Knox works with an eFUSE (autoconfiguration technology) which is normally used to keep track when a device has been altered.
In other words, thanks to KNOX, Samsung can tell what you have been doing and can reject requests for user support during the warranty period sue to the fact that the handset had been damaged by the user.
That’s rather annoying especially as long as Android OS is a free open source software and in order to have all the fun and also prevent Samsung from refusing to repair your device if the damage was caused by an unofficial modification that has altered the factory state of the handset, you should better take in consideration this guide:
How to Uninstall KNOX on your Samsung Galaxy Handset:
- Open the app drawer and find the KNOX app;
- After that, you have to open it;
- Look for the dots in the upper right and corner;
- Click it and select settings to open it;
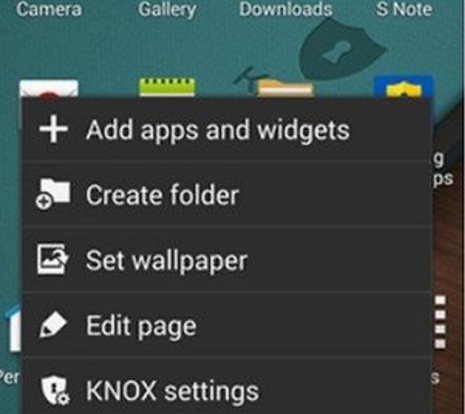
- Then, select KNOX Settings;
- Select uninstall KNOX;
- When uninstalling KNOX one will be asked whether they want to backup their Knox data or not;
- If you say yes – which is always recommended – it will be saved in your device’s Knox folder during the uninstall process. To back up this data, select Backup Now, and then confirm your choice by tapping OK;
- If you choose the No option, then be sure that the procedure will continue without creating a backup.


User forum
0 messages