How to Enable Data Saver in Chrome on Android
2 min. read
Updated on

Video is one of the most important biggest reasons you cannot respect your monthly data allotment each month and, likewise, the cause of those awful overage charges on your bill. This is far from pleasant, but are you aware of the fact that video now works with Data Saver to reduce your high data consumption?
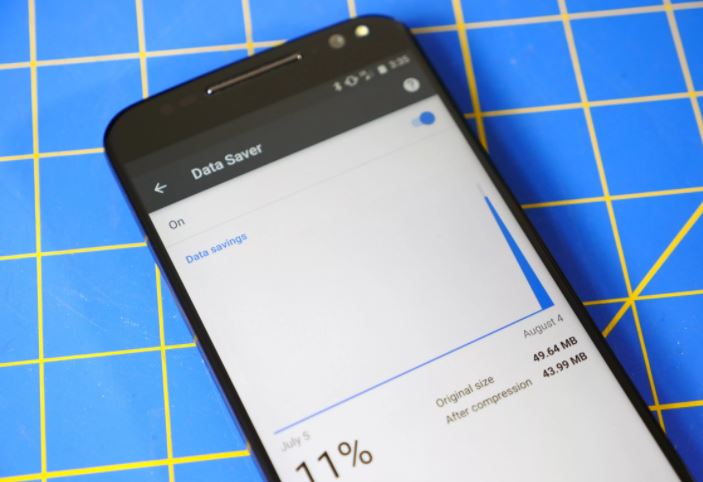
We all want web pages had smaller file sizes in order to spend less time loading them, but also consume less of your monthly cell phone data. The best part is that Data Saver can also do that for you in Google’s Chrome browser. To be more precise, instead of normally loading a full web page on your Android phone, the site is first compressed on a server before downloaded to Chrome on your device. This is eventually help in reducing the data consumption and let you achieve your goal.
You must though know something from the start: it seems that private sites that are utilizing HTTPS cannot be optimized using Data Saver and these ones will continue to come through normally. I am sorry to tell you that, but let’s see the bright side of all the other sites and move to the actual procedure:
How to Enable Data Saver in Chrome on Android:
- First of all, you must open Chrome;
- You should now tap the Menu in the top right corner represented by the three vertical dots;
- Then, you have to tap Settings;
- Scroll to the bottom, and tap Data Saver;
- Don’t hesitate to hit the toggle switch to move it to the On position;
- Up to this point, video and web pages will be compressed on servers before downloading to your Android device, hopefully being the help that you need in order to avoid any new data overages.
If you ever change your mind and want to turn it off, be sure that it’s OK to do that. In such a case, you must simply toggle it to the Off position by following the same steps as above.


User forum
0 messages