How to Move Status Bar Clock to Right on your Samsung
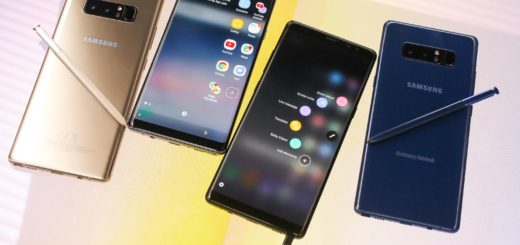
Android 9.0 Pie moved the status bar clock from the right corner to the left which is perfect for phones with notches. However, this does no good for Samsung users since no Galaxy phones have a notch. Even the new Samsung Galaxy S10 and A series devices haven’t joined this club. Samsung has opted for a display hole which tends to be on either the left or the right side.
In such a case, having the clock on the left does nothing special for such handsets. In fact, this simply takes away precious space for the notification icons that would otherwise start from the left corner. How to change that and move the Status Bar Clock to right on your Samsung? I have an idea about what might help.
That app is called SystemUI Tuner and has recently received a beta update that adds the ability to move the status bar clock to right.
Get ready:
- You must own a Samsung Galaxy device running Android 9.0 Pie (it does not work on other Android phones);
- Prepare the original USB data cable;
- You’ll also need a Windows computer.
How to Move Status Bar Clock to Right on your Samsung:
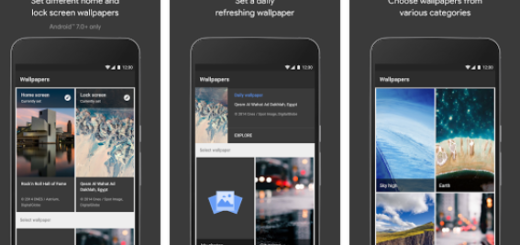
- At first, download SystemUI Tuner from the Google Play Store;
- When you have installed the app, scroll down the app’s Play Store page and you should see Join the beta;
- Tap JOIN and then tap JOIN again on the confirmation pop up;
- You could wait around 10 minutes or so for the Play Store app to recognize that you’re a beta tester now, but when it does, you can open the app’s Play Store page again to update it to the latest beta version;
- Now, it’s time to download ADB for your operating system: Windows;
- Once you have the ZIP file, extract it to an accessible location;
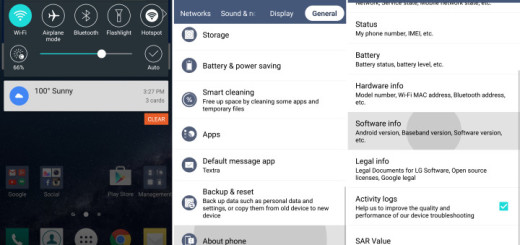
- Enable USB Debugging. Things are fine only when seeing a toast message saying “You are now a developer”;
- Then, head into the main Settings menu on your phone and you will see the newly-unlocked Developer Options menu;
- Select it;
- After that, then scroll down and enable the USB Debugging option;
- You may now connect your phone to your computer with a USB data cable, then you’ll see a prompt asking if you’d like to Allow USB Debugging;
- Feel free to tick the box next to Always Allow;
- Press OK”on the popup;
- Now, connect your phone to your computer via the USB cable;
- You can open the “platform-tools” folder inside of the ADB folder you previously extracted;
- Copy its full location path by clicking the address bar at the top of the explorer window, then copying the location from there;
- Now, you have to open the command prompt. Therefore, press the Windows key on your keyboard, type “cmd,” then hit Enter;
- With the command prompt open, type in “cd” (without the quotes), followed by a space, then hit ctrl+v (or cmd+v) to paste in the platform-tools folder location you copied earlier;
- Hit Enter on your keyboard so that the command window will be operating in the right directory;
- Now, you may copy the following command and paste it into the prompt: adb shell pm grant com.zacharee1.systemuituner android.permission.WRITE_SECURE_SETTINGS
- After that, press Enter;
- In case of receiving an error and you’re using Windows PowerShell, use this command instead: ./adb shell pm grant com.zacharee1.systemuituner android.permission.WRITE_SECURE_SETTINGS
- Now launch SystemUI Tuner on your phone and go through the initial set up wizard;
- You will be asked to grant some optional ADB permissions on the last page but they’re optional, so you can just skip ahead;
- When you land on the app’s main page, tap on the TO THE TWEAKS button in the center of all the text;
- Then, on the next page, select TouchWiz;
- On the next page, select Clock Position under Miscellaneous and select Right on the pop up that appears. You should immediately notice the clock position change from left to right.
Be sure that the clock position can similarly be changed again if you change your mind.