Install OxygenOS using Local Upgrade
3 min. read
Published on

You know how things tend to go with the latest incremental updates. They slowly roll out worldwide which means you will have to wait until you can install update on your phone.
You can force check for the OTA notification, by going into Settings -> System updates. However, if you’re not keen on being patient, then I have got you covered here. What do you say about the idea of installing OxygenOS on OnePlus devices using Local Upgrade option in Settings?
OnePlus has been in full-form since December and has been launching Oreo-based OxygenOS update for all its supported devices frequently. One thing that we have to list over and over again, is the instructions to install those updates manually. Well, the fact is that the instructions stay the same for every OnePlus device and they are incredibly simple to follow, so you have no reason to be afraid of.
Requirements:
- Your OnePlus device must be completely stock as the procedure cannot work on rooted devices;
- You will need the OxygenOS full ROM/OTA zip specified for your device;
- Don’t forget to take a full backup of your device. So, in case anything goes unplanned, your personal data will still be secure;
- Also make sure that your OnePlus device has sufficient juice in the battery to go through the process.
How to Install OxygenOS using Local Upgrade:
- To begin the procedure, don’t hesitate to download the incremental OTA zip or Full ROM zip for your OnePlus device;
- Connect your Android phone to the computer via the original USB cable; be sure that it is better this way;
- Then, you must swipe down the notification bar and enable the Transfer files option;
- Copy the full ROM/OTA package to the root of the internal storage;
- When copied, disconnect your OnePlus device from the computer;
- It’s time to go to the app drawer and launch Settings;
- Scroll down to the bottom as you have to select System updates;
- Press the cog (gear-style) icon on the top-right of the screen;
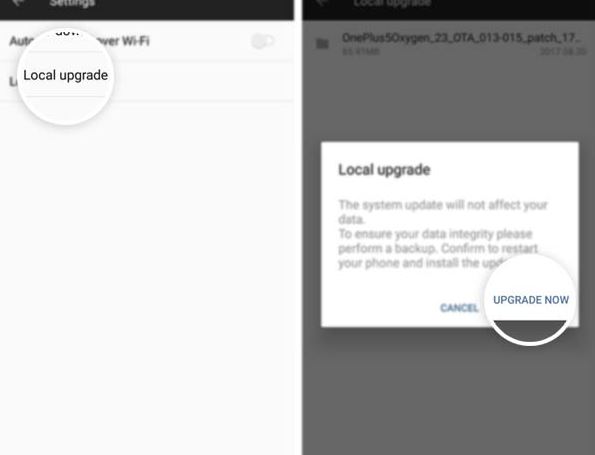
- Select the Local Upgrade option. At this point, the system will automatically fetch the update zip;
- At the end, just tap on the filename and select Upgeade Now when prompted;
- At this point, the installation process will begin;
- You must have patience and then, when everything’s complete, your phone will reboot into the system.
Be sure of the fact that now, your Android device is finally running the updated OxygenOS. If you want to double check, feel free to go to Settings -> System -> About phone to confirm that the specific OS version was installed correctly.


User forum
0 messages