Manually Install Android N Developer Preview Factory Image on any Nexus powered device
3 min. read
Updated on

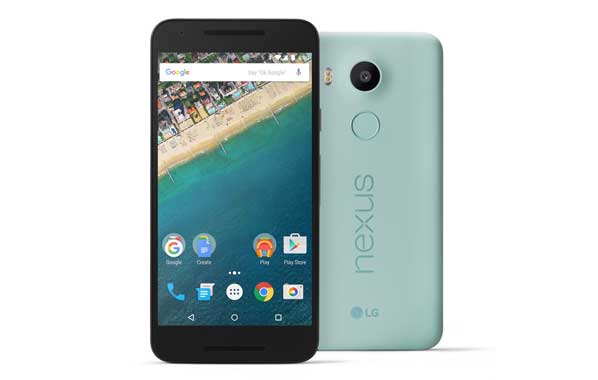
Google just announced that the Android N developer preview is available for download. The easiest way to take a peek to this version is none other than through the Android Beta Program, but as usual, Google has also posted the factory images. If you want to flash the factory image, then be sure of the fact that you’re already in the right place, but you must be one of the lucky owners of a Nexus 6, 5X, 6P, 9, Nexus Player, or Pixel C handset.
For most users, downloading and installing via the Beta Program is the perfect solution and if you are one of them, I totally get you. In such a case, the preview will be installed like any other OTA and users will get automatic updates to the latest version. However, there are plenty of other Android users who want more and are ready to install the developer preview via a computer.
This factory image method is my favorite one too as long as it’s like starting from the beginning with a fresh install of the entire system. It’s a little more difficult to factory reset your device and properly follow the necessary steps, but you are less prone to experience all those bugs and errors that seem to invade your software after an OTA update.
In order to prepare, make sure all your data is backed up, because you will lose all your data on the device when you unlock the bootloader, which is required for flashing. I know that it doesn’t sound great, but there is no way to unlock a bootloader without a factory reset. And even if you happen to have an unlocked bootloader, I still recommend that you back up your data in case something goes wrong.
Then, you’ll also need ADB and fastboot installed on your computer and to enable “USB Debugging” on your phone from Developer options.
How to Manually Install Android N Developer Preview Factory Image:
- First of all, you have to download the factory image for your device by accessing this link;
- Unzip the file and save it somewhere easy to find;
- Connect the handset to your computer via the original USB cable;
- Go to the Minimal ADB and Fastboot folder and open a command window there (just use the shift key + right click combination and select the open command window here option);
- Enter adb reboot bootloader to access your device’s bootloader;
- Navigate to the folder where the factory image is placed;
- Enter flash-all to run the installation script; to be more precise,
On Windows you must run the file “flash-all.bat”;
On Mac you have to run the file “flash-all.sh” using Terminal;
On Linux, you should run the file “flash-all.sh”. - Wait while Android N is installed!


User forum
0 messages