Enjoy Pixel Experience based on Android Pie on Xiaomi Redmi Note 3
Since Android 9 Pie source was released, we have all seen various ports released and it’s only normal for that to happen since passionate developers around the world cannot stay and do nothing. Are you the owner of a Xiaomi Redmi Note 3 device? Then, I am glad to tell you that XDA Senior Member Carlos Arriaga shared the Pixel Experience port for your handset too. This custom ROM is based on Android 9 Pie and the good news is that most of the hardware works so it may be worth using as a daily driver for some people.
All Android P features such as adaptive brightness, app actions, and slices work with no problems, just as GPS, Wifi, Camera, Camcorder, Bluetooth, Flashlight, FMRadio, Fingerprint reader, IR, Lights, Sound/vibration, RIL, Mobile data are all functioning flawless. Hardware encryption and Selinux Enforcing are the only currently known issues, so things are promising.
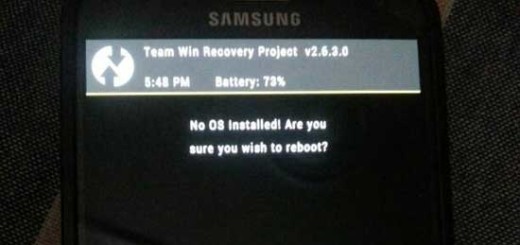
For the procedure to work, you will need an unlocked bootloader and then, install the TWRP Recovery. If you already have it, you can simply follow the below guide to enjoy the new Pixel Experience based on Android Pie on your Xiaomi Redmi Note 3.
Procedure:
- First of all, you need to take the Pixel Experience ROM;
- Also grab the VoLTE-fix;
- Then, move the two zips to the internal storage on your Redmi Note 3;
- Reboot your device into recovery mode;
- Power off your device;
- You must also press and hold the Volume up button and Power on the device again using the Power button. Release the keys when the Mi logo appears on your screen. You should see the TWRP screen in a couple of seconds;
- Before installing the ROM, also create a complete NANDroid backup of your current ROM. Well, this isn’t a must, but doing a backup is perfect if you want to have your data safe and sound, no matter what might happen;
- After doing that, select Install from the TWRP main menu;
- Navigate to the downloaded zip file and select it;
- Up next, swipe at the bottom to flash it;
- Then, you must flash the VoLTE-fix in the same way;
- After finishing, tap on the Reboot system button to make sure that all changes are maintained.


