How to Install Android O Developer Preview on Nexus 5X
Just as it happened a year ago, Google decided to announce the upcoming version of Android before the company’s developer conference this summer and even more, it is currently giving developers the chance to test out a pre-beta build of Android O before its official release. Yes, you can already install Android O Developer Preview on your Nexus 5X and here I am to show you what to do.
I don’t know about you, but I adore enjoying updates, even though it may be a long time before they are planned to be released to consumers. As the name suggests, the first preview of Android O is only available for developers, but as things happen with everything in the Android world, you can install the Android O Developer Preview on your Nexus 5X device right now.
Note: Before starting the procedure, let me tell you that if you have enrolled your device in the Android Beta program, beta updates are not supported in the Android O Developer Preview. Even more, the procedure requires you to unlock the bootloader of your device and this will delete all user data. Therefore, backup your Android device’s data. Even more, since this is a very early developer build, don’t be so surprised to find some bugs and issues.
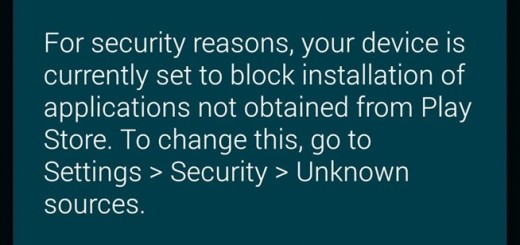
Before you start the procedure, you will have to make sure that both “OEM Unlocking” and “USB Debugging” are enabled in Settings->Developer Options. And you will need to have ADB and Fastboot tools on your Windows PC or Mac. You can download ADB and Fastboot by accessing this link.
And yes, installing incorrect mods on your Android device could be harmful. Please make sure that you are aware of the outcome of installing this on any other device rather than Nexus 5X. And if this happens, AndroidFlagship will not be held liable for any damage to your device. However, if you’re stuck, I will to my best to pull you out of any troubles.
How to Install Android O Developer Preview on Nexus 5X:
- First of all, grab the latest build of Android O from Google’s factory image page;
- Inside the extracted folder you will find another ZIP file; do not hesitate to extract it;
- Once you have extracted all the files, make sure to move them to the ADB and Fastboot folder;
- Reboot your device into bootloader mode. Follow this key combination: Volume Down + Power button for that;
- Then, launch the “flash-all.bat” file. This file should open up Command Prompt, flash all the files and install Android O onto your device;
- If that doesn’t work, open a fastboot command window. As a Windows user, Shift + Right-click on the empty space inside the folder and flash these images one by one via these commands:
fastboot flash boot boot.img
fastboot flash recovery recovery.img
fastboot flash system system.img - Once the scripts finish, your device will be rebooted and Android O should be installed on your Nexus 5X;
- You can now go to Settings->System->About Phone and check the Android version.
After the phone boots, you should have Android O developer preview! Enjoy it!