How to Use iMessage on your Android
2 min. read
Published on

The idea of switching from iOS to Android is scary for many users. Living in a world where everything seems to be related to Android shows you that you make no mistake, but quite the opposite and your transition can be a smooth one. You aren’t the only one missing certain features.
One thing that I really love about iPhone and iOS in general is the iMessage service. Apple’s own messaging app is extremely fast, powerful and intuitive, but it is an Apple-only service. My first though was that Android users have no chance to enjoy Apple’s seamless group messages, lossless attachments, cross-device compatibility, Wi-Fi messaging, and so on, yet I was wrong since you can actually use iMessage on your Android too.
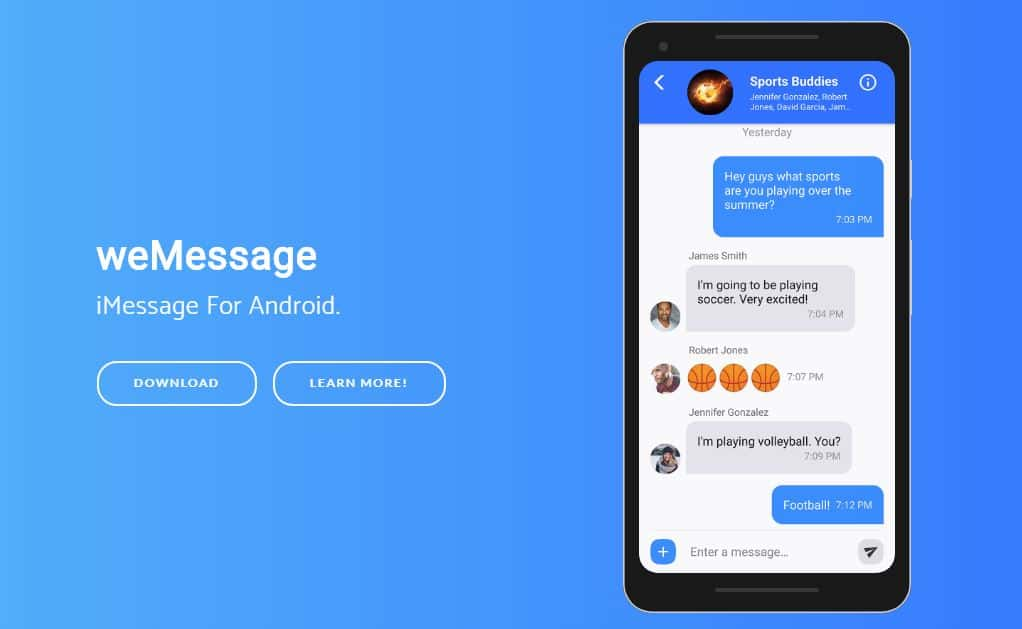
weMessage from Play Store is an amazing app that lets you chat with your friends using Apple’s iMessage. Ypu should know from the very beginning that it supports almost all the major features like group chats, easy customization, read receipts, notifications, contact blocking, Do Not Disturb, a built-in video player, web browser, and more. In other words, your Android device might lack that tiny blue-bubbled wonder known as iMessage, but this shouldn’t me the feature keeping you on an iPhone any longer.
iMessage is a hard to beat and Android does not even try that. weMessage can bring one of the world’s most popular messaging platforms to your Android device. Through weMessage you can keep on enjoying the very same messaging solution that has always connected you with your friends, so here’s how you can get it all:
How to Use iMessage on your Android:
- First of all, you have to take the download the weMessage app on your Android device;
- Up next, download its weServer app on your Mac computer;
- You must now modify your Security & Privacy settings to install this app on your Mac as long as the app isn’t available from Apple’s official Mac App Store;
- Once it’s installed, open it and follow the instructions to set it up;
- Then, open the weMessage app on your Android device;
- Don’t hesitate to sign in using IP Address, email, and password;
- When you have signed it, you are ready to go.
If you run into any problems using the methods above, feel free to leave a comment.


User forum
0 messages