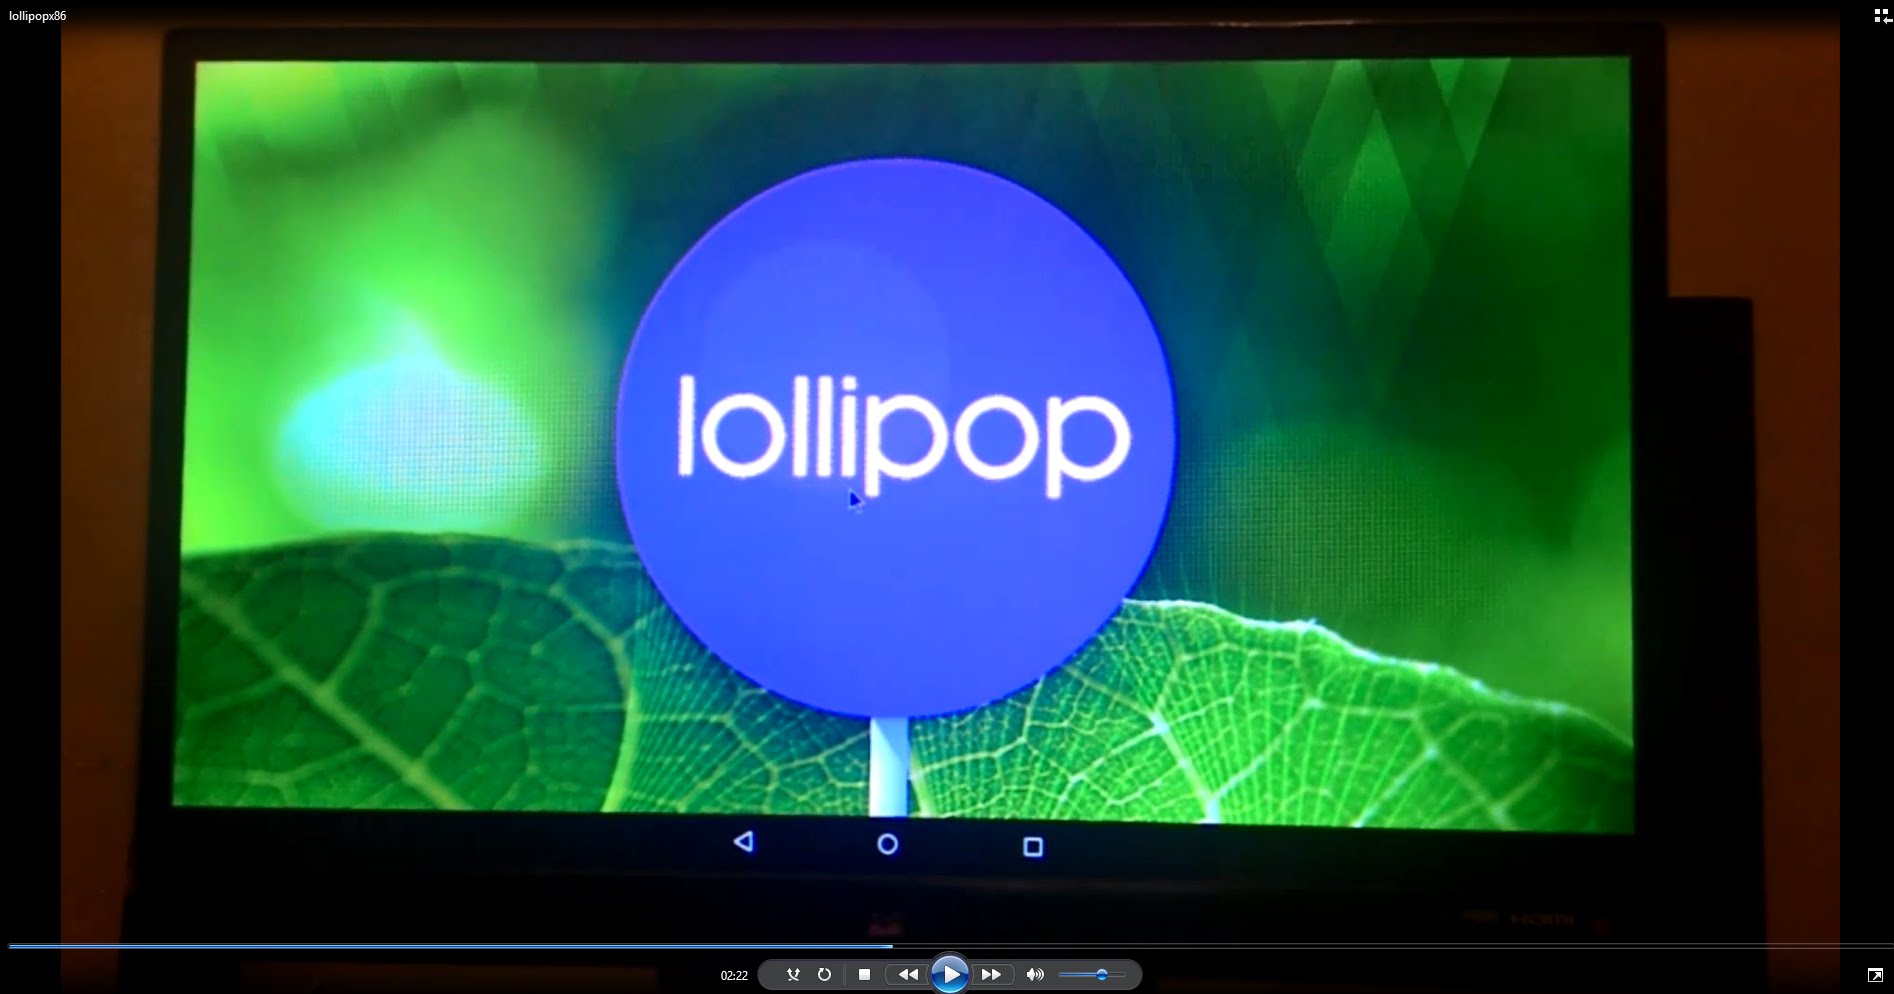
Run Lollipop 5.0.1 on Windows PC
3 min. read
Updated on

Do you have a mid range device and you are still waiting for the new Android 5.0.1 Lollipop OS to arrive on your own tablet or smartphone? We know that waiting is not at all an easy thing to do, so that is why we are here with a suggestion for you – install and test the Lollipop firmware on your own Windows based computer or notebook.
Or maybe you already have tested the Android 5.0.1 system on your phone, but you are disappointed about the fact that you are supposed to enjoy all its goodies on such a small screen. Well, be sure that we have the same solution for this case as well, as running Lollipop on a Windows machine is great!
If you’re in either of these situations, then running Lollipop 5.0.1 on your Windows PC sound like the ideal option that will solve all your problems. Trust us when we are saying that the latest material design language and your PC will get along just well, but don’t start this procedure before taking care of one major aspect: you have to install the latest Java SDK on your PC in order for this procedure to work properly.
Now, you are ready to start it!
How to Install Android Lollipop 5.0.1 OS on Windows PC:
- Download the most recent Android SDK directly on your PC with the help of this direct link;
- Install it on your PC;
- After that, you have to go to the installed location and run the SDK manager application;
- You’ll immediately see a list of tools to download on your PC. You only need the following package: Android SDK Platform-tools;
- It’s time to select it;
- Then, tap the Install button;
- The application will pop up a licence agreement, so don’t hesitate to accept it;
- Once the download, open the Android SDK folder and run AVD Manager.exe;
- Hit the Create button;
- You will see a Create new Android Virtual Device (AVD) pop-up on your PC, so it’s time to fill the required details in the popup windows;
- You should give a name to the new virtual machine;
- Then, choose a device from the list;
- Set the target as Android 5.0 – API Level 21;
- Once filled, the CPU/ABI option should be reading ARM (armeabi-v7a);
- Tune the rest of the settings as per your PC configuration;
- After that, you have to hit OK;
- Choose the new AVD from the AVD manager;
- Press start to launch your virtual device;
- You’ll see a small popup window, so enable the Scale display to real size option unless you want to run the AVD in the original size;
- Hit the Launch button;
- You’ll see another window with the Android Lollipop booting up on your new Android Virtual Device, so have patience and then enjoy the changes.
And we have more special guides for you and your tablet or PC such as: How to Easily Improve Battery Life on any Android Smartphone / Tablet (read it from here; we are sure that you are going to need it), Access and Stream Computer Files by using your Android Device, Download Files on your Android Device using a Computer, Download APK files from Google Play to your PC and more. You see, our How to section if full of surprises!


User forum
0 messages