How to Install TWRP Recovery on your Lenovo Zuk Z2
4 min. read
Published on

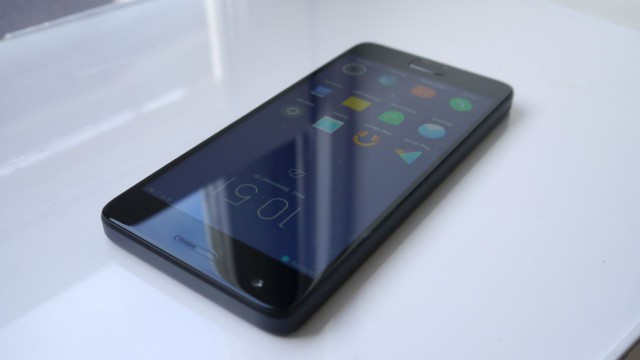
The Lenovo Zuk Z2 is a Chinese smartphone that lots of people talked about. I am aware of the fact that those with a huge budget prefer other handset models and yet, this comes as a nice surprise with its powerful Qualcomm Snapdragon 820 chipset, 4GB of RAM and no less than 64GB of storage, a fingerprint scanner and a 5-inch screen.
If you are the owner of this device, I am sure that you won’t regret the decision of buying it and yes, something tells me that you also want more. For those who don’t know, TWRP recovery is a custom recovery image that can replace the stock recovery software for extending your access towards the Android internal system that runs on your device and the story is no different when it comes to this Lenovo phone.
If you also decide to install the TWRP Recovery on your Lenovo Zuk Z2, then you are probably no stranger to the fact that this one comes with a touch based interface and with plenty of new features and settings through which you can choose how to personalize the Android platform that you love, not to mention that this is mandatory for gaining root access.
Enough with the talking about that and let’s move to the next step. This isn’t the actual guide, but the preparatory instructions that will eventually lead you there. For your data’s safety, please take a backup of your important stuff and then, turn on USB debugging mode from Developer Options. For that to be possible, you have to enable Developer options, go to Settings -> About and tap multiple times on build number.
Check once again that you have drivers installed properly and don’t forget about the Minimal ADB tool that must be installed on your computer. No less important, your device must have at least 70% of charge if not even more than that if you know that you have issues at this chapter. You don’t want it turned off right in the middle of the procedure, right?
And as I always tell you, you should do this on your own risk. You device’s warranty may be void after following these instructions. If anything goes wrong and you end up with a bricked Lenovo Zuk Z2, then this site will not be held responsible. Act carefully and in case of having any question, ask me now or it might be too late:
How to Install TWRP Recovery on your Lenovo Zuk Z2:
- Take the TWRP Recovery from here;
- Make sure to rename it to recovery.img and place it in ADB folder;
- Go to the ADB twrp folder and press and hold shift then right click on white space and “Open command window here”;
- Up next, you have to connect the Lenovo device to your PC or laptop via the USB cord;
- Reboot your phone into fastboot mode by typing the following command:
adb reboot bootloader - Your device will reboot into fastboot mode. If this doesn’t happen, don’t panic, but check if your USB cable is connected properly and that you have drivers installed properly. You can check a list of connected device by typing the following command:
fastboot devices - Now, you can finally flash the TWRP Recovery. For that, just type the following command and have patience:
fastboot flash recovery recovery.img - That’s it! You have installed TWRP recovery on Lenovo Zuk Z2 phone!
Don’t hesitate to start testing the new custom recovery image from your own handset and prepare your device for further tweaking operations; after all, this is just the beginning!


User forum
0 messages