Enjoy Xposed Framework on Galaxy S6
A few months ago, rovo89’s popular Xposed Framework offered support for Android 5.0 Lollipop, but despite of that, one of the most popular smartphones of the moment, none other than Samsung’s Galaxy S6, couldn’t run that version of Xposed. This one was only compatible with ARMv7 devices, while the Galaxy S6 (just as it galaxy S6 Edge brother) is based on the ARMv8 architecture.
Have you heard the latest news about Galaxy S6? A recognized contributor and developer at XDA-Developers wanam just released a version of Xposed that should work on all versions as well. So, if up to this moment, the Xposed Framework was limited just to Samsung Touchwiz Lollipop ROMs, things have changed with this Xposed framework variant built which has been already tested on the Samsung’s Galaxy S6.
Before getting too excited about that, let me tell you the fact that this is still in an experimental phase and that it comes with some major changes to the framework part to get it working with the AOSP ART (important ones have been made to “core-libart.jar” and “conscrypt.jar”). Even more, also be prepared for some bugs and serious preparatory steps.
If you want to be successful on applying this guide, you need a Custom Recovery such as CWM or TWRP (the choice is all yours, but it has to be the latest version, of course), along with a Xposed Installer apk file. Even more, Stock Deodexed 5.1.1 ROMS are a must, so if not having a deodexed Rom, try this tool to deodex your ROMright away.
Learn:
- How to Install CWM Recovery on Samsung Galaxy S6;
- How to install TWRP Recovery on Sprint Samsung Galaxy S6;
- Install TWRP Recovery on International Samsung Galaxy S6;
- Flash TWRP Recovery on Various Galaxy S6 Versions (China, Korea, T-Mobile, US Cellular and more).
You must also proceed with caution and learn to assume your responsibility. If something bad happens while applying this guide, I cannot be blamed for your mistakes.
Enjoy Xposed Framework for Galaxy S6:
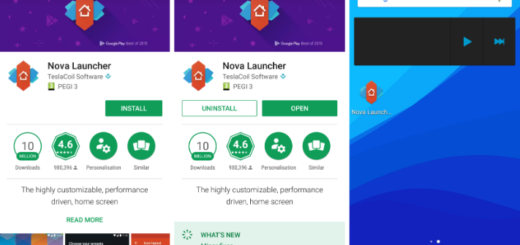
- From here, you have to get the Xposed Installer;
- Up next, do not hesitate to install it on your Samsung Galaxy S6 smartphone;
- It’s time to download the Xposed Framework ZIP file onto your phone as well; use this direct link for that;
- Power down the device;
- After that, it’s time to boot into the Recovery mode by pressing Volume Up and Power button at the same time;
- Tap on Install;
- Go to the Xposed Framework file that you have previously downloaded on your smartphone;
- Swipe to confirm the flash;
- Once done, all you have to do is to reboot your Samsung device. Enjoy!
If your handset gets stuck into a boot loop, you can flash the Xposed Framework Uninstaller – take it from here and solve the problem right away.
Have you managed to successfully apply all the steps provided in these guide? Do you have any unanswered questions? Use the contact form or the comments area and wait for my response! That is why I am here for!