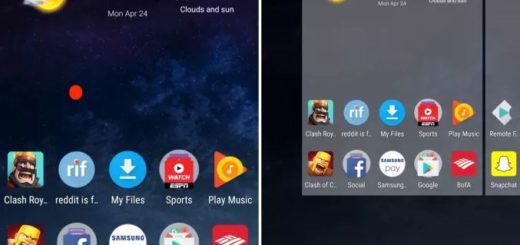
Flash Android 6.0 Marshmallow on LG G3 (Ported ROM from Nexus 6)
There is no doubt that LG G3 will receive the Android 6.0 Marshmallow update, but it will take a long time for that to happen on all devices – that is something that you should know from the start. So if you want to try the Marshmallow ROM, just go ahead and install the ported ROM directly from Nexus 6. Just as always, here I am to guide you all the way.
Well, don’t start the update procedure without making a backup of all your data. This process will wipe all the data from your LG G3, except for the internal storage, so you have no excuse for not performing a nandroid backup.
Even more, in order to success with the Nexus 6 ported Android 6.0 M installation process, you need a Custom Recovery like TWRP or CWM installed on your LG G3, not to mention that you should have device drivers installed on your PC. Only by installing these USB drivers, you will be able to connect the device with the computer successfully.
You must fully charge your device or at least to 60%, or else it could turn off during the procedure and keep in mind that these guidelines are for the advanced users only. AndroidFlagship will not be held responsible if anything goes wrong during the update process, so make no mistake or it might cost you the safety of your device.
No less important, I want to be clear about the compatibility of the files from below. The ported Android M ROM has only been tested on some LG G3 variants that includes D850, D855 and D858HK, therefore do not use it on any other versions or you risk damaging the handset once again.
How to Flash Android 6.0 Marshmallow on LG G3 Ported from Nexus 6:
- For the start, you need to take the Ported LG G3 Android Marshmallow ROM from here;
- Also get the Androd M compatible Google apps;
- Now transfer the files into your device’s internal storage;
- Now reboot into Custom Recovery; to do that, you have to press and hold volume down and power keys at the same time;
- Tap the Wipe button and select Advanced Wipe;
- After that, you have to select Dalvik Cache, System,Data, and Cache;
- Now swipe right to confirm;
- Go back to the main menu or home screen again;
- From there you have to tap on the Install option;
- Navigate to the ROM file;
- It’s time to select it;
- Swipe the confirmation button to proceed with installation. The ROM will be installed;
- Now, return to home once more;
- You have to tap on the Install option again;
- Go to the Google apps zip file and select it as well;
- Swipe the confirmation button to proceed with installation;
- Once installed, reboot to system.
That was all! Let me know if you have encountered any problem!

