Shooting in RAW on your Galaxy S7
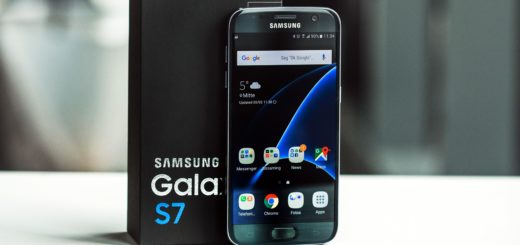
The Samsung Galaxy S7 smartphone model keeps making its way around the world and its success is an admitted fact. There’s plenty to love about this amazing handset and I must personally say that one of the things I like the most on Samsung Galaxy S7 Edge is the camera. I use it every say, so I know how fast it really is, I know that its focus is super quick, because of its Dual Pixel Camera and yes, it can take RAW photos too.
The advantages of shooting in RAW over JPEG are numerous, but if you don’t know it already, let me tell you that the main one is related to the fact that you basically get far more control over editing and processing. Let me put it this way: the RAW format is the uncompressed version of an image, while a JPEG is nothing else than a compressed version of a photo. During compression of photos details are always lost, but things are different in the RAW format. There, the photo remains exactly as it was recorded by the camera. Therefore, the image size is many times larger than it is the case with JPEGs, so be careful about the space!
The Galaxy S7 can shoot in both RAW and JPEG, but the issue is that there is no RAW capture by default. To turn that on, go to the settings icon at the bottom left in Pro mode and choose “Save as RAW file.” Note that when this is turned on, the RAW and JPEG files save simultaneously to the phone’s onboard storage and not a microSD card — even if you have one set to store captured images. To get them, you would have to go through the DCIM folder under Camera. And if you need even more details, use these steps provided in this guide and you will see how simple it really is:
How to Shoot in RAW on your Galaxy S7:
- Open on the Samsung Galaxy S7 Camera app;
- Tap the gear icon to open the camera settings;
- Choose Mode;
- Now, select Pro Mode;
- In order to Enable RAW and Save in SD Card, go to Setting;
- Tap on “Save as RAW file”. Now, the image will be saved in 2 formats, Raw and JPG; even more, note that you can choose to save the photos into SD Card as well.
You might also find useful to know how to:
- Open and Use the Galaxy S7 camera even if you are a beginner;
- How to Use the Galaxy S7 Selective Focus Camera Mode, a feature that Galaxy flagship phones have boasted since the Galaxy S5, but we still can get tired of it;
- How to Add Dual Camera Mode on Galaxy S7 with the help of this guide;
- If you want more than those 10 pre-installed camera modes for the rear camera, then Learn to install Additional Galaxy S7 Camera Modes;
- Do not hesitate to Meet the Galaxy S7 Virtual Shot Camera Mode and learn to walk a full 360-degrees around your subject, taking multiple photos which are then pasted together by the handset that you own.

