
Install Xposed Framework on Samsung Galaxy S7
![]() 3 min. read
3 min. read
![]() Published on
Published on
Share this article

Improve this guide
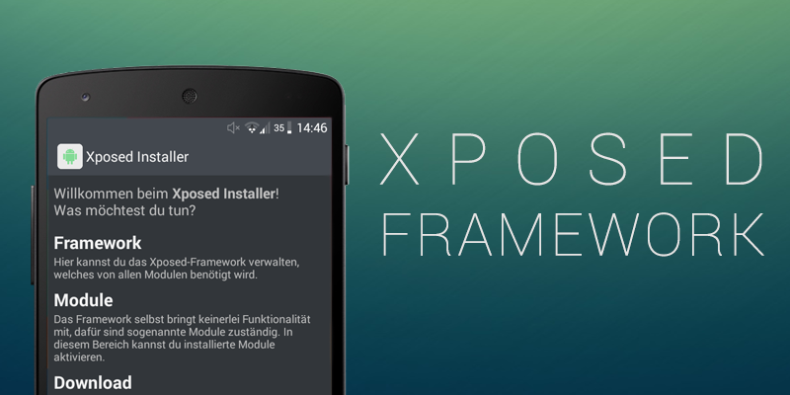
Many low-level tweaks can normally be performed on Android by flashing a custom ROM at your choice. However, if you want even more than that for your Samsung Galaxy S7 device, then the Xposed Framework allows you to modify your existing system at a much higher level without even installing a new custom ROM.
To make myself even clearer, I want you to see Xposed Framework as your chance of building your own custom ROM for Android. Instead of downloading something like CyanogenMod, which comes with a bunch of new features baked in, Xposed works in a different way and it lets you add just the features you want, one by one, through individual modules.
However, for this to work, your Samsung Galaxy S7 has to be rooted. There’s no way around this requirement this time, so if you haven’t rooted your handset yet, there’s no better time than now to change that! As I always tell you, every single phone is a little different, so check out our rooting guides to find your specific device model. Then, here’s what you have to do:
How to Install Xposed Framework on Samsung Galaxy S7:
- Download the required files for installing Xposed on your Galaxy S7 smartphone. Grab the Xposed version for ARM 64 devices from here;
- Also download Xposed Installer APK file via this direct link;
- Up next, you have to copy these two to your phone’s internal or external storage;
- Then, it’s time to boot your Galaxy S7 into recovery mode – use this guide if you don’t know how to do it;
- Once the handset has booted into recovery, select Install;
- Locate the xposed-sdk.zip file that you have copied before and select it;
- Confirm your selection and wait for a few seconds while the framework is installed;
- Then, just reboot your device by tapping on the Reboot system option;
- Your phone may take a few minutes to reboot, so give it the necessary time, and when it finishes the necessary time for that;
- Up next, it’s time to find the XposedInstaller APK file you transferred earlier using a file manager like ES File Explorer;
- Install the XposedInstaller APK;
- If prompted by Google that it will scan your device periodically to prevent it from malicious apps, do not hesitate to tap Accept;
- You will now have the Xposed Installer in the app drawer;
- Open Xposed Installer right away and don’t be afraid to start apply your favourite tweaks from the list of available and working Modules.


User forum
0 messages