Manage your Moto Z2 Play Alarm Clock Feature
Alarms are an important part of our day-to-day life. We set alarms to wake up on specific hours or as a reminder for an important appointment, for taking a certain pill or calling someone and I don’t know what you think, but I believe that every second counts these days.
When I get up in the middle of the night just to take a peek at the time, I feel exhausted the next day—and I’d rather have the alarm clock feature doing things for me and having my back.
Even for some deep sleepers, it takes just the sound of their Android phone to solve the problem. You can get that too from your Moto Z2 Play Alarm Clock Feature, so in this detailed tutorial, I will show you how easy is to set an alarm, how to customize it, delete when no longer needed, and how to customize its snooze feature easily through the alarm widget on your Moto Z2 Play smartphone.
How to Manage your Moto Z2 Play Alarm Clock Feature:
- First of all, access Apps;
- After that, select Clock;
- Choose Create;
- Then, you may tweak the options below to the settings you want:
Time: you may use the arrow keys to select the time;
Repeating alarm: you can select which days you want the alarm to set off. You can set it to weekly on selected days, or daily;
Alarm type: choose the alarm mode that you will prefer;
Tone: select the audio file played when the alarm is set off;
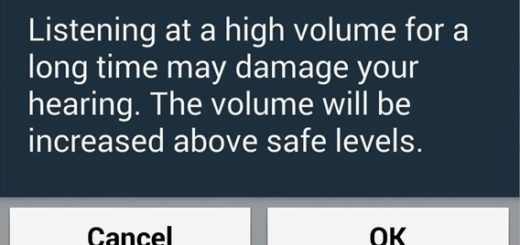
Volume: adjust the volume of the alarm by dragging the slider;
Snooze: allow for a snooze button on your alarm;
Alarm name: choose a name for the alarm that will appear on the screen display when the alarm is set off; - If you’re not an early riser, don’t hesitate to press and move the X icon in any direction to deactivate an alarm. It’s only your decision to take and it’s perfect to have a lazy day for yourself from time to time;
- If you don’t like getting startled by a loud alarm on a certain quiet morning or if you ever change your mind and want to delete an alarm on your Moto Z2 Play smartphone, just tap and click on Delete. If you want to save it for later, you can select clock and it will be saved.