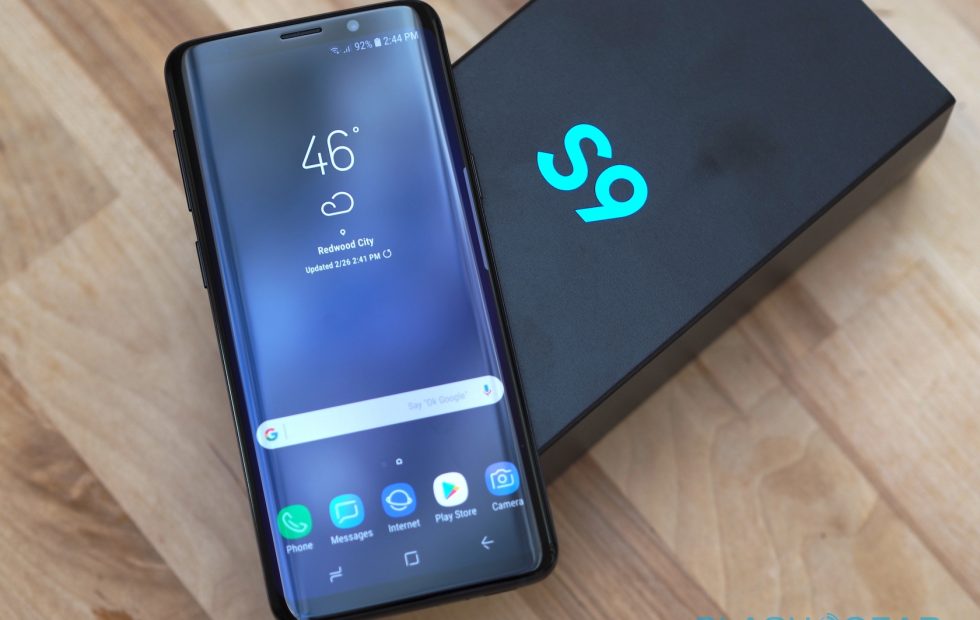
How to Solve Galaxy S9 Network Issues
3 min. read
Updated on

All latest Android smartphones have evolved into complex computer systems that actually need to be better optimized than a desktop or laptop. Since these fancy mobile devices have a small battery and a weaker CPU as compared to other computer options, any conflict can change the way the smartphone that you own behaves and lead to serious issues.
The “Not Registered on Network” error from your Galaxy S9 probably drives you mad, but you aren’t the only one in this position. Many have previously seen it on their Galaxy S8 and this time, potential fixes aren’t too much of a difference.
Most of the times when you are in no network area and you get back into network area and ant to make a call or send a text you will get the Galaxy S9 not registered on network error. It’s frustrating, I know it, yet hopefully, the issues that you are experimenting now will be gone.
How to Solve Galaxy S9 Network Issues:
- At first, you should try to reset network settings via these detailed steps:
- Open the home menu of your phone and locate Settings;
- Go to Settings;
- After you locate “About device”, it’s time to tap on About device;
- At this point, you will see a number of options, so select Reset;
- Find Reset Network Settings in the Reset menu;
- Give it permission to reset network settings of your Galaxy S9 smartphone;
- As a last step, restart your phone.
- If this doesn’t work, then you must clear cache of your Galaxy S9 device. If you’ve been reading any of previous Galaxy S9 and Galaxy S9+ troubleshooting guides, then you already know that this isn’t actually a complicated tutorial at all. The most complicated part is to boot the smartphone into Recovery Mode and here you can find all the help that you might need:
- First of all, turn off your Galaxy S9;
- When completely off, boot the Galaxy S9 into Recovery Mode: so, you have to press Power + Bixby + Volume up button. Leave power button when the phone turns on. Then, keep on holding other two buttons till you see the blue screen with the Android figure that you know so well on it;
- Press the Volume Down button until you highlight the Wipe Cache Partition option;
- Then, press the Power button to select it;
- Press the Volume Down button to confirm you want to wipe this data;
- Hit the Power button again to select the Yes option;
- Once complete, the menu should appear at the top again;
- Make sure the Reboot System Now option is highlighted;
- Now, just press the Power button to reboot the Galaxy S9 back into Android.
How was the procedure for you? Has it helped you fix the problem? Thanks for your feedback!


User forum
0 messages