Manage Calendar Events on your Galaxy S5
5 min. read
Updated on

It is more than obviously that your Galaxy S5 shouldn’t look like everyone else’s. Feel free to make changes, experiment and find the best solutions that work for you and you only. Have you ever thought about the possibility of adding Calendar Events on your Galaxy S5? This is one of the quickest ways to change the feel of your new phone by personalizing as you want, so here we have more details on this topic.
If you want to keep track of on your calendar, if you want to learn how to add and delete events, how to sync the calendar events from emails and manage or delete Facebook calendar reminders, you are exactly where you should be. Just follow these step by step guides and don’t hesitate to ask for our help in case of needing it.
Manage Calendar Events on your Galaxy S5:
- For the beginning, you have to go to the Home screen of your Galaxy S5 smartphone;
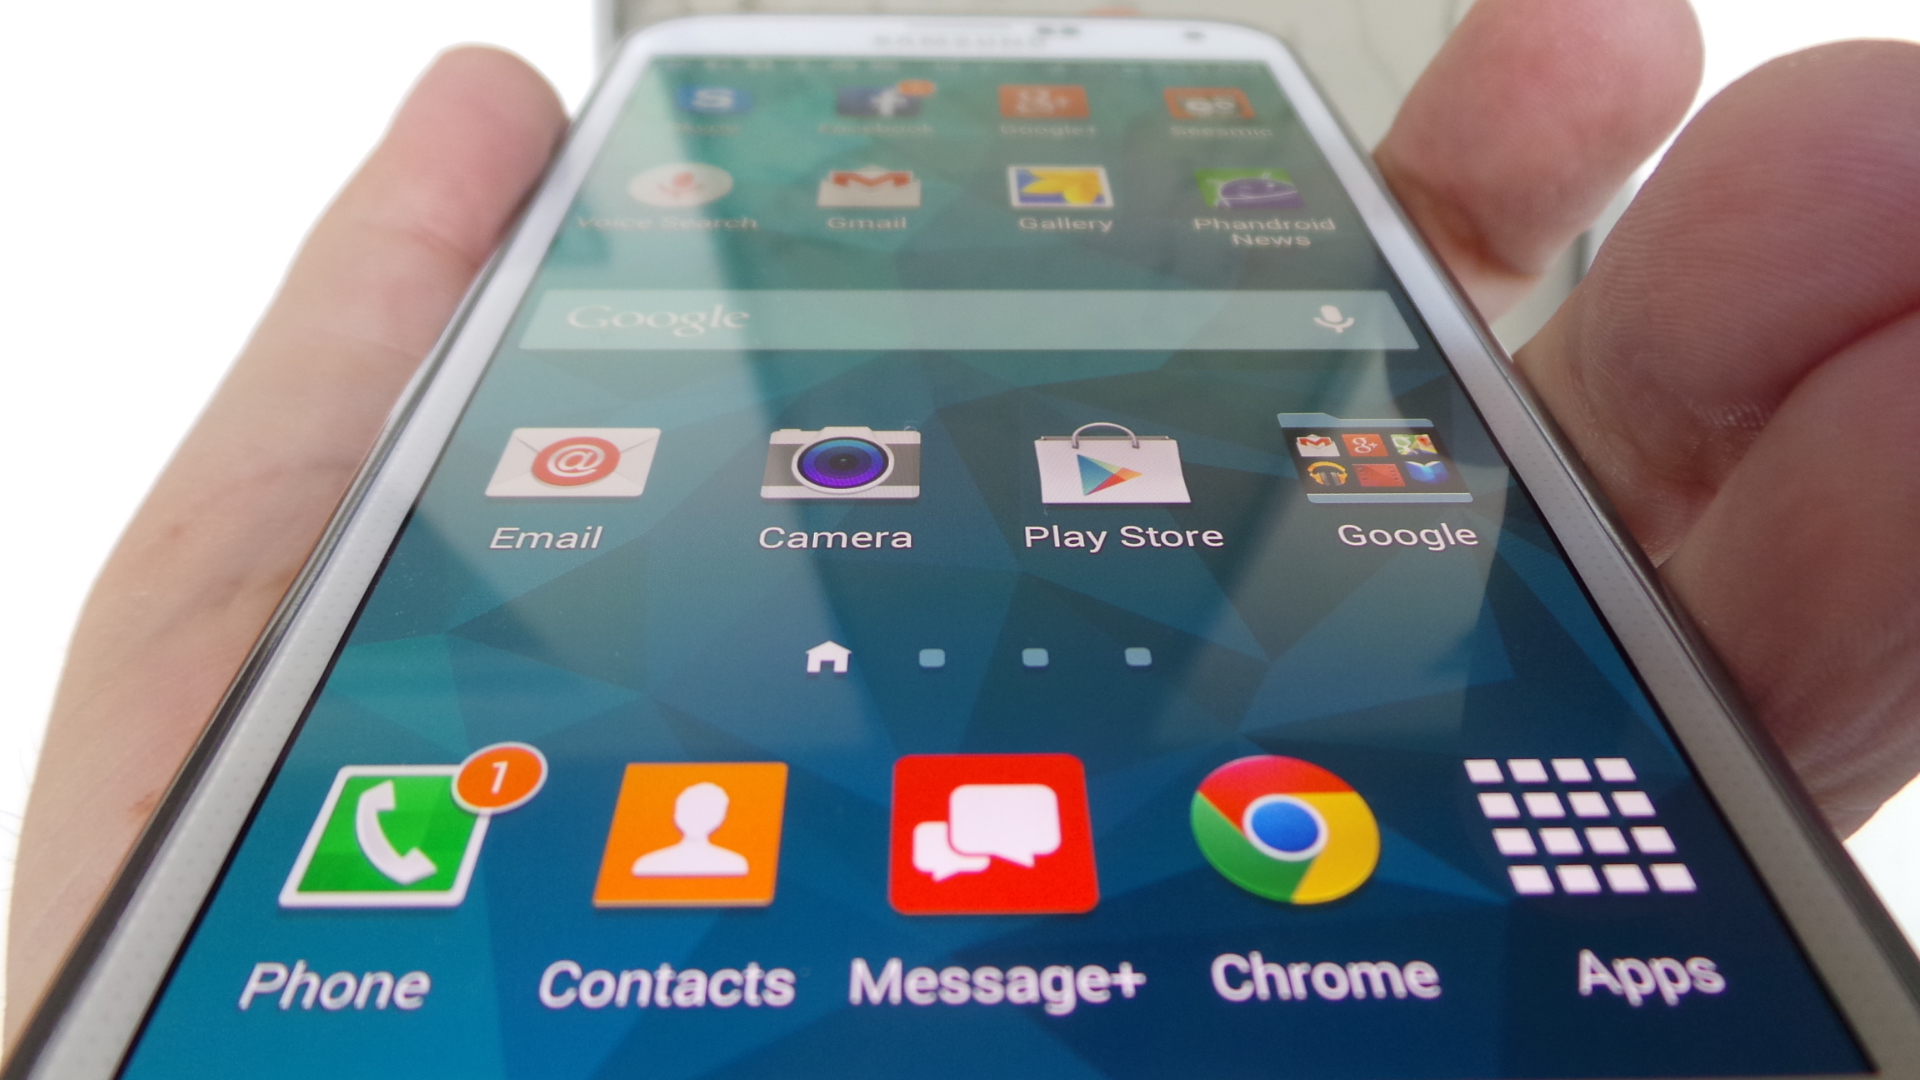
- Tap the “Apps” icon which can be found on the bottom right of your Home screen;
- Once list of applications is opened, look for the “S Planner” App;
- After finding it, it’s time to tap the app to open it;
- This will open a virtual calendar on your phone screen.
- Tap the date you would like to make an event for, and then tap the Plus (+) sign at the top right of your screen to add an event (you can also choose the Minus (-) sign in order to delete an event);
- Now, you will have to create a name for that event: choose it and don’t hesitate to tap the location where the event will be held;
- Also change the “Start” and “End” times of your event;
- After setting up all necessary information for this special event, tap on “Save”.
Has a certain event been canceled and do you want to delete it? Here’s what you have to do:
How to Delete Calendar Events from S Planner:
- Go to your Home screen;
- Don’t hesitate to tap the “Apps” icon in order to open your Applications menu;
- Scroll down the list of Apps and then tap on the S Planner to open it;
- Tap the date of the event you want to edit or delete;
- Also tap the meeting note that will pop up on your screen;
- It’s time to tap the “Trash can” icon;
- After that, select OK to confirm your action;
- The date will remain empty, just as you have wanted!
Moreover, don’t forget that if you use a Google Calendar, Microsoft Outlook Calendar, or iCal, you can easily sync events with S Planner. Like that, you have the possibility to update S Planner with the already saved events, also sharing new events across devices.
How to Sync your Samsung Galaxy S5 Calendar:
- Go to the Home screen of your Galaxy S5 phone;
- Just as before, you must tap the “Apps” icon and you’ll be directed to the Applications menu;
- On the list of Apps, tap “S Planner” and you will see three dots located on the top right of your screen;
- Tap them to open the drop down “Settings” menu;
- After that, tap “Sync” and wait for your Samsung Galaxy S5 to sync events from your email account;
- To sync other events, you must have a linked Google, iCal, or Microsoft Account;
- Go to your Home screen;
- After that, swipe down from the top of the screen to drag down the notification toolbar;
- Tap the “Setting” icon that can be located on the top right side;
- Tap the “Key” icon followed by the + Add Account option;
- Tap the supported services from the list;
- Enter your email address on the in the text field;
- Follow the remaining steps to sync the account to your Samsung Galaxy S5 handset.
Was it that hard? We don’t think so, but in fact, we think that you have discovered how easy it can be and you might want to do even more.
If you use Facebook and you have a problem with the fact that it is syncing birthdays to your S Planner, don’t hesitate to take action!
How to Stop the Facebook App from Syncing Birthdays:
- Start by opening your “Facebook” application;
- Click on the “Menu”button;
- Scroll to the “Help & Settings” section and click on “App Settings”;
- You have to scroll once again to the “Other Settings” section and this time click on “Sync Contacts”;
- Choose “Don’t Sync from The Contacts Sync Menu”;
- Click “Done” and close the Facebook application. Your problems have been solved!
How to Remove Facebook Birthdays from S Planner:
- Open the “S Planner” application;
- Click on the “Menu” button;
- Click on “Calendars”;
- Tap on the Facebook box in order to uncheck it;
- Close the “S Planner” application and that was all!
- When opening it again, you will see that birthdays have been removed.
For additional help, don’t hesitate to use the comments area from below and we’ll do our best to find a solution! You can be sure of that!


User forum
1 messages