Manually Install Android 4.4 KitKat on Nexus 10 and Nexus 7 (2012 / 2013 editions)
Are you the owner of a Nexus 10 or a 2012 / 2013 Nexus 7 tablet? Then, you are probably aware of the fact that the Android team has finally gave us the great news regarding the Android 4.4 KitKat updates when it comes to both Nexus 10 and the WiFi Nexus 7 (including the 2012 and the 2013 models that we have told you about). In this situation, we must present you two options: you can simply wait until the over-the-air (OTA) Android 4.4 KitKat update makes it to your tablet or you can try to manually update your Nexus device.
You probably already know that this sort of procedures are recommended only to intermediate or advanced Android users. So, if you are just a beginner, we strongly recommend to have some patience and take in consideration what may happen to your device. If not, here we are to help you by telling you what you’ll need in order to install these updates:

Android 4.4 KitKat update for Nexus 10
- A Wi-Fi Nexus 7 tablet ( as we have told you, the 2012 or the 2013 version ), as well as a Nexus 10 which run on Android 4.3. So, the 2012 Nexus 7 and Nexus 10 should have the build number JWR66Y, while the 2013 Nexus 7 – the build number JSS15R. To find these information, you can easily check in Settings > About Device.
- The most recent version of the Android SDK installed on the system.
- A microUSB cable.
- Windows PC / Linux / Mac.
- The latest version of the Android SDK.
- The manual update package (links below).
- Verify if your tablet is fully charged or connect it to a powerpoint in order to avoid any unpleasant surprises.
- You can also choose to create a backup of your data before beginning, despite of the fact that this method should not lose any app data or settings.
After you are sure that you have no problem at these chapters, here we have a step-by-step guide which will help you install this update:
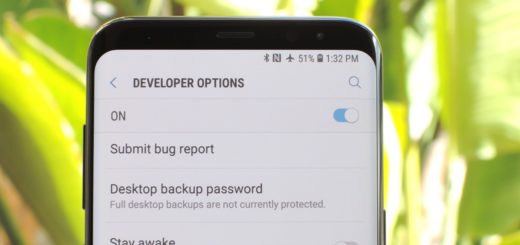
- Go to Settings>About Phone>Click on build number until you will receive the message “You are now a developer”. Exit from “About phone”, click on the “Developer Options” setting and enable USB debugging.
- Connect the tablet to a computer and disconnect the USB cable from the computer. Then, turn off your device.
- Return to the computer and unzip the installed Android SDK.
- Look for the zip file which contains the Android 4.4 update, give it a new name that you can easily remember such as “Kitkat” and then place it to the Android SDK in the folder titled “Platform tools”.
- Power back your tablet and by holding Power and Volume down buttons at the same time.
- Click the volume up button and press the power button to accept the “Recovery mode”.
- Use the micro USB to connect to the computer.
- Hold the home power button down first, and then the volume up button too.
- Go to “apply update from ADB”, hit the power button and accept.
- Go back to the computer, open the folder which contains the Android SDK and open the “platform-tools” folder and in the command window type “adb sideload Android KitKat” ( without the quotation marks ). Don’t forget to add “.zip” extension for the zip file.
So, your device will finally install the update itself, letting you enjoy the benefits of Android 4.4 KitKat.
But we cannot leave aside the problems that you could be facing:
- If the device is not being read, you can try another USB port or another USB cable, as well uninstalling and then reinstalling the drivers.
- You can also try to use the PdaNet program which can help you install the drivers for your device. After you are done using it, feel free to uninstall it and set back things to normal.
- In the case that you are stuck in a boot loop, you have to go back into recovery and clear cache. Is still not working? Then you have to factory reset, so it makes perfect sense to create a backup of your data.
Download: Android 4.4 KitKat update Nexus 10 from here; Nexus 7 – 2012 from here; Nexus 7 – 2013 from here.