How to Solve Galaxy S7 “Unfortunately, Facebook has stopped” Problem
There is a Galaxy S7 error that says “Unfortunately, Facebook has stopped” and it becomes a real headache if you don’t take any measures. If you choose to click on “report” it probably takes you to a message center with Google, but doesn’t allow you to do anything. So, clicking on “ok” might look more promising at first, but the truth is that nothing happens this time either.
Is this your case as well? Then, I can only imagine that you would welcome any clues for solving this error. If it were a Galaxy S5, I should have told you to uninstall and reinstall the app, but this isn’t something that you can do any longer on your Galaxy S7 smartphone. The Korean manufacturer decided that Facebook must be embedded in the firmware of the Galaxy S7, so there is no way for you to uninstall it.
How to Solve Galaxy S7 Unfortunately, Facebook has stopped Problem:
- It doesn’t take too much time to see if there’s an update available for Facebook through Play Store, so do that now;
- If the error just popped up out of nowhere, it might be just a minor glitch with the app and doing the steps above will fix it. Clear the cache and data:
- From the Home screen, tap the Apps icon;
- Find and tap on Settings;
- Touch Applications and then Application manager;
- Swipe to ALL tab;
- Find and touch Facebook;
- Touch the Force Close button;
- Then, it’s time to tap Storage;
- Tap Clear cache and then Clear data, Delete.
- However, if this problem occurred after updating the device, then you should try wiping the cache partition with the help of these detailed steps:
- Turn off your handset;
- Press and then hold the Home and Volume UP keys, then press and hold the Power button;
- When the Samsung Galaxy S7 shows on the screen, release the Power key, but keep holding the Home and Volume Up keys;
- When the Android logo shows, you may release both keys and leave the phone be for about 30 to 60 seconds;
- Using the Volume Down key, go through the options and highlight ‘wipe cache partition’;
- Once highlighted, you must press the Power key to select it;
- Highlight the option ‘Yes’ using the Volume Down key and press the Power button to select it;
- Wait until your phone is finished wiping the cache partition. Once completed, highlight Reboot system now and press the Power key;
- The phone will reboot longer than usual this time, but that should permanently fix your error;
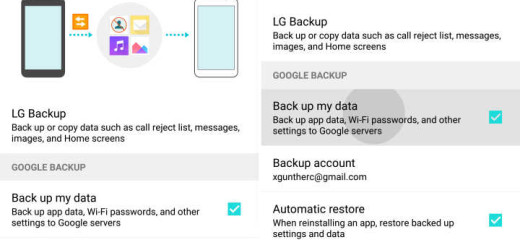
- However, if the message is still there, there’s nothing else that we can do for you in this matter, except for encouraging you to perform a hard reset or contact your carrier or Samsung and ask for help. Speaking of that, you most likely know how effective a hard reset can be at solving issues on phones, but remember that such a procedure will erase all personal data and downloaded content on the S7 phone, so a backup is a must. However, don’t think that the procedure will affect or erase your memory card or anything saved on your SIM card – this won’t ever happen, but for more details you should better read this guide on How to Hard Reset the Samsung Galaxy S7.


