Learn to Re-calibrate your Galaxy S9 Phone
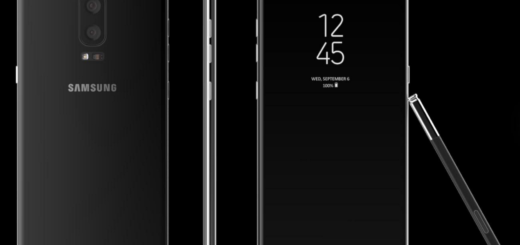
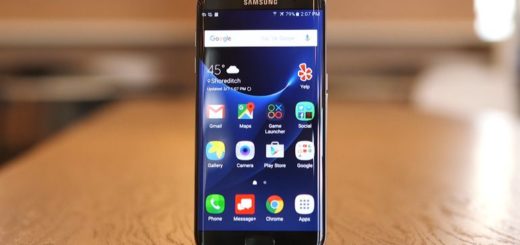
The AMOLED screens on Samsung’s smartphones have long been one of the handsets’ strengths and you shouldn’t see your Galaxy S9 as an exception to this. That’s the handset currently sitting in your pocket, so you probably know it better than anyone, but to be honest, there are also plenty of owners who are claiming that the displays on Samsung’s latest models aren’t all as good as claimed in the first place.
Some say that videos won’t display darker colors accurately, while others are annoyed by the fact that their screens get stuck on vertical and they can’t access the horizontal display. Like it or not, this clearly has to do with the 3D accelerometer rotation. I am talking about a feature that is supposed to make sure that content can be viewed either vertically or horizontally on the same screen of your device and changing between them shoulb be nothing complicated.
How to get this back? You must learn to re-calibrate your Galaxy S9 phone. The calibration can be completed either by using the phone’s inbuilt Calibrate option or by using a popular third-party app like GPS Status which can be taken for free from the trustworthy Play Store.
How Re-calibrate your Galaxy S9 phone with the help of the In-Built Feature:
- The first thing that you must do is to pull down the notification’s panel of your Galaxy S9 and make sure that auto-rotate is switched off;
- Then, it’s time to find the way into the Settings menu of your device;
- Place your Samsung Galaxy S9 phone on a flat surface;
- At this point, you have to press Calibrate;
- Now, I have one advice for you: do not move your phone till the calibration is complete;
- After that, you must switch on the auto-rotate function by pressing on the portrait lock icon and checking if the Galaxy S9 auto rotates issue is now solved.
I certainly hope that it is, but let me know if you need any help!


