Easily Install Android O Developer Preview on Nexus Player
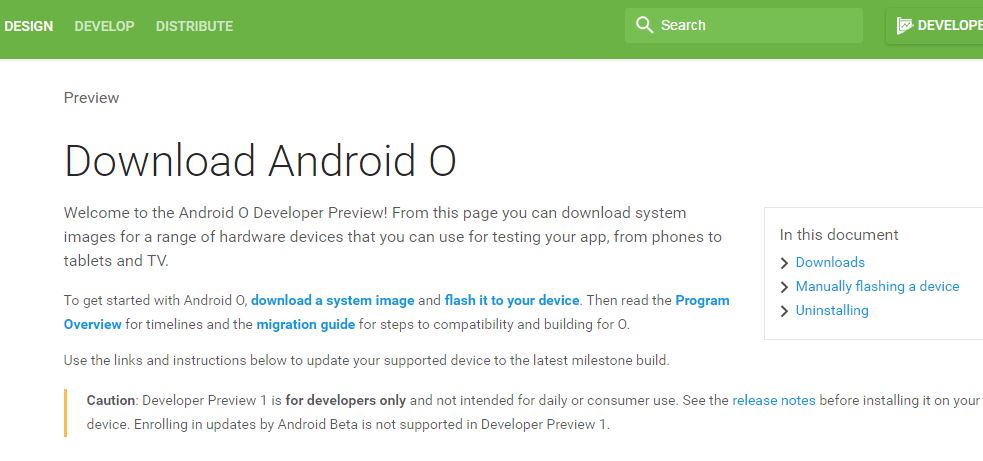
The Android O Developer Preview is here, and if you’re a developer (or just a person way to curious who lacks patience) here’s how to install it right away. Yes, you can easily install Android O Developer Preview on your own Nexus Player device, but not before knowing a few essential things about the current situation.
Let me tell you that the Android O Developer Preview is being released only as a factory image, so this time you can’t just go to Android‘s beta page and get the update as an over-the-air release. This is because O is very early, and isn’t intended to be installed by the general population — just by developers at this point.
The fact that Google did not release this build through the already existing Beta channel also gives us a clue that it might be a buggy version. Google even mentions that a public beta will be available at a later date, and this first preview is largely for developers. Still, if you want to take a crack at seeing Android O now, here you can find a tutorial detailing each and every step of the way.
Get ready for the operation:
- Uninstalling a Developer Preview system image before the end of the program requires a full device reset and removes all user’s data on the device. In such a case, a backup is a must;
- Your device’s bootloader needs to be unlocked for the procedure to work;
- Enabling USB debugging is a must for later connecting your Nexus handset via USB to your computer;
- Prepare the original USB cord in that matter;
- In order to flash the factory image to your Pixel device, you must have ADB and Fastboot installed on your desktop computer. You can easily Setup ADB and Fastboot drivers on Windows PC using Minimal ADB and Fastboot Tool or choose to Setup ADB and Fastboot drivers on Windows PC using 15 seconds ADB installer.
- Check the battery charge level.
Easily Install Android O Developer Preview on Nexus Player:
- Google’s Developer Preview site has the Android O updates that I am talking about. Here’s the one for your device too;
- You need to extract the Android O system image you downloaded inside a new folder. Name it something simple to remember such as ‘Android’;
- There is another zip file that must be extracted;
- Then, you should move the files into the ADB and Fastboot folder;
- Assuming you device is already connected to your computer via USB, then you need to restart it in fastboot mode;
- Now, you should type fastboot oem unlock to unlock you device;
- Type flash-all to install the bootloader, baseband firmware, as well as operating system;
- If you get a missing system.img error, run the below commands one by one in the command window:
fastboot flash boot boot.img
fastboot flash recovery recovery.img
fastboot flash system system.img - Once it’s finished, your device will reboot and the latest version of Android O will be installed.
That’s it. Enjoy the changes!



User forum
0 messages