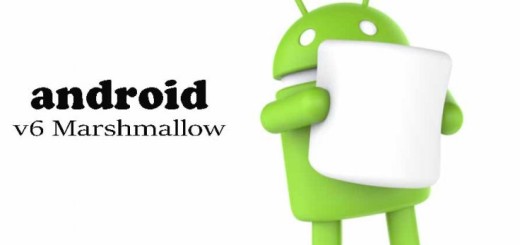
How to Flash Android M (MPA44I) Developer Preview 3 on Nexus Player
Google posted new image files of the Android 6.0 Marshmallow Preview 3 for the Nexus 5, Nexus 6, Nexus 9, as you have seen from our previous posts, but don’t you imagine that Nexus Player is not included in the list as well.
Google has been pretty good over the years at making such image files available around the release of a new update or version of Android and that’s one strong selling point of many Nexus handsets.
Do you want to learn how to flash Android M (MPA44I) Developer Preview 3 on Nexus Player? Maybe waiting is not really your thing or maybe you have modified your device’s system kernel via rooting or installing Xposed Framework tools and you are aware of the fact that the OTA firmware won’t work on such systems.
So, instead of waiting for the Android M OTA, you can choose to manually flash the Android M developer Preview 3 on your own Nexus Player.
In order to perform such a procedure, you have to back up data and enable USB Debugging mode via Settings > Developer Options Note. If Developer Options is not visible, then you need to enable it by entering into Settings > About Phone, selecting Build Number and tapping build number seven times to unlock the Developer Options under Settings and then enable the USB Debugging mode.
Make sure that that Nexus Player is rooted and with the most recent CWM or TWRP recovery version installed and that its bootloader is unlocked. And do not start the procedure if you don’t have enough battery left. As for the computer that you have to use, it can run on either Windows, Linux or Mac, but don’t forget to install the right USB drivers.
These instructions and the Android M firmware file from below are specifically for the Nexus Player, so they will not work for any Nexus device. Make no confusion or you might end up with a bricked device and I cannot be held liable for that. You are advised to proceed at your own risk or to stop here if you are not ready to assume all these.
How to Flash Android M (MPA44I) Developer Preview 3 on Nexus Player:
- For the start, take the Android 6.0 Factory Image with the help of this direct link;
- Now, you have to connect the Nexus device to your computer via USB cable;
- Power off your phone;
- Boot it into Fastboot mode, so turn on the phone while pressing and holding the Volume Up, Volume Down and Power buttons; do that until the Fastboot menu and START icon appear on the screen;
- Then, extract the downloaded file to a location of your choice from your PC;
- Go to the firmware folder and then copy/paste all the files to the Fastboot directory;
- Using factory image files in your Fastboot directory, run the following command:
On Windows, run the regular file “flash-all.bat” command;
On Mac, you have to run the file “flash-all.sh” using Terminal;
On Linux, run the file “flash-all.sh”; - Then, your Nexus device will reboot.
This time you must have patience and do not unplug your phone at any time.