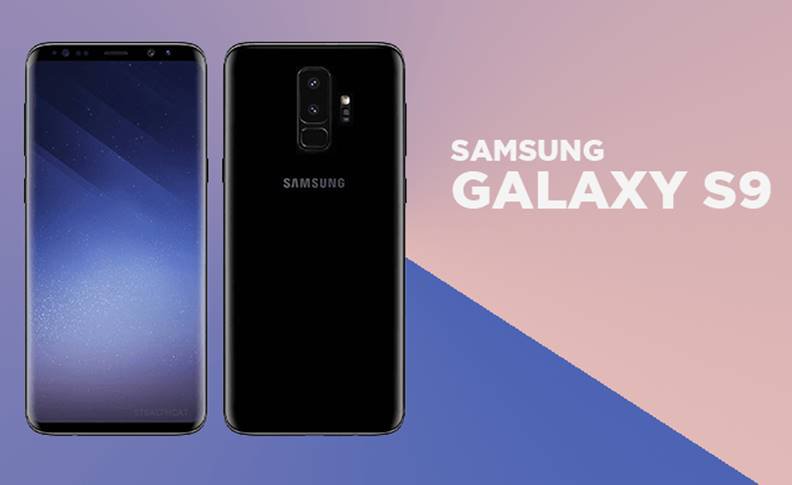
Give Samsung Pass a Try on Your Galaxy S9
2 min. read
Updated on

I still remember when Samsung first announced its Samsung Pass platform ahead of the launch of its Note7 smartphone, envisioning it as a master key for online banking and other digital services that would use biometrics instead of usernames and passwords. An in-depth look at Samsung’s new Galaxy S9 reveals more than a beauty of smartphone and this guide will show you something else that I hope that you like about it and want to try out by yourself.
Well, just imagine being granted access to all websites and apps you use without needing to enter your password. Samsung Pass uses biometric data like your fingerprint or iris to authenticate your identity, which means that you can forget all about the need of memorizing all those different IDs and passwords for each site.
Samsung Pass allows you to auto-populate personal details such as your name and email address. Sure, Google provides a similar feature with autofill, but Samsung Pass is the one that works in the native internet browser.
If you want to give Samsung Pass a try, this guide is just what you need for your Galaxy S9 smartphone.
Give Samsung Pass a Try on Your Galaxy S9:
- First of all, you have to go to Settings;
- Enter into Lock Screen and Security;
- Then, go to Samsung Pass;
- Tap Next;
- Now, don’t hesitate to sign in with your Samsung Account;
- After that, just press Start;
- Agree to the disclaimer and tap Next;
- Now, you have to choose your preferred biometric identification option and you are all set;
- After creating a biometric authentication, sign into Samsung Pass using the biometric;
- Touch Next in order to complete setting up Samsung Pass and start using its features.
Up to this point, each time you use Samsung’s browser to sign in on websites or enter personal information, it will be saved to Samsung Pass for future use. When your wish is to use the information stored in Samsung Pass, just authenticate using an iris scan or fingerprint and everything becomes so much easier.


User forum
0 messages