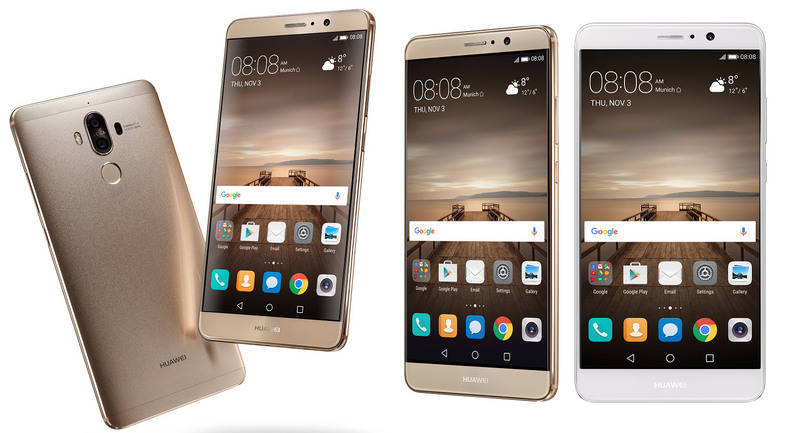
Take Scrolling Screenshots on your Huawei Mate 9
2 min. read
Updated on

You most probably take screenshots all the time to either share a conversation or an image. Be it your highest score in the recent game you have been addicted to, an image on Instagram, something your stumbled upon on the web – a screenshot is more than enough. Sharing is incredibly easy when all you have to send is a screenshot or two, but what if you need to send various?
Instead of bombarding your friend with screenshots after screenshots, you can take and send a scrolling screenshot that will ease the process for both of you. A scrolling screenshot is when you take one long screenshot that captures what various screenshots would cover but in one image.
I bet that you will love to hear that your Huawei Mate 9 supports Scrollshots. Just follow the steps below presented if you also want to capture an entire webpage, your app drawer or even a long conversation within your favorite messaging app.
How to Take Scrolling Screenshots on your Huawei Mate 9:
- At first, open the application/screen which you want to take a screenshot of;
- Up next, you have to hold down on the Power and Volume down buttons at the same time;
- Be sure that an animation will appear letting you know that you’ve successfully captured the image;
- Before the animation disappears, you need to act fast and tap on the Scrollshot option;
- Almost immediately, your Mote 9 phone will begin scrolling down on the screen and add to the original screenshot. It will continue to scroll until you tap on the screen which tells it to stop. The scrollshot will now appear on your display, so feel free to choose between the provided option – Share, Edit, or Delete the image.
And be sure that it’s very easy to find any of your screenshots. You can go to the Gallery app and look for the Screenshots folder/album. Or manually, find your way into the Pictures > Screenshots folder in your phone memory and check all the screenshots you have taken so far.


User forum
0 messages