How to Use the Samsung Galaxy S10E Video Enhancer
Samsung has launched its most ambitious phone line yet with the Samsung Galaxy S10 and S10 Plus the stars of the day. Launched alongside them is the S10E version too and be sure that you’ve made a great choice. You have a bold and refined handset and it’s a joy to learn more and more about it. Don’t you feel the same?
Today I want to tell you more about how to use the Samsung Galaxy S10E Video Enhancer. Video enhancer is not actually a new feature. It made its debut with the Galaxy S7 device. Despite of the fact that it cannot magically convert your 720p videos to 4K or anything like that, it still has its purpose. So, the Samsung Galaxy S10E Video Enhancer doesn’t necessarily mean that it’ll convert a low-resolution video into a wonder, but it definitely adds in a tad of color and saturation and thus make an otherwise-plain video stand out.
What I really love about it is that it works with a range of apps, including Netflix, Play Movies, Prime Video and YouTube. And you don’t have to worry about manually add video apps to it or anything like that. The mode scans your phone for any app that can play video and adds automatically.
This is pretty much the video enhancer hiding on the S10E that aims to boost your videos. You’ve got to try it out!
Use the Samsung Galaxy S10E Video Enhancer:
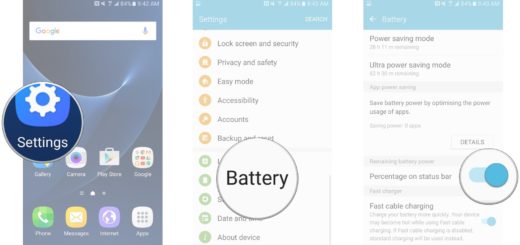
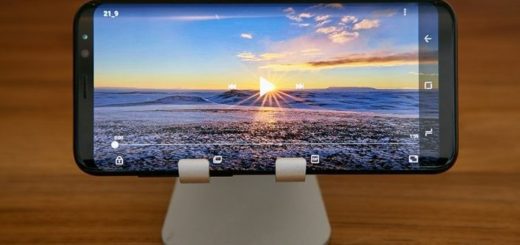
To turn it on, head over to Settings > Advanced Features and toggle the switch for Video Enhancer. It even has tiny little preview screen where you can view the change in color. And every single time you change your mind, you just have to follow the very same path.
Head into Settings > Advanced features > Video enhancer to toggle it on or off depending on your preferences.
I see no point for turning it off though. This is your chance to watch that grainy concert footage you took a few years ago in vivid technicolor with Video Enhance. You will see the difference!